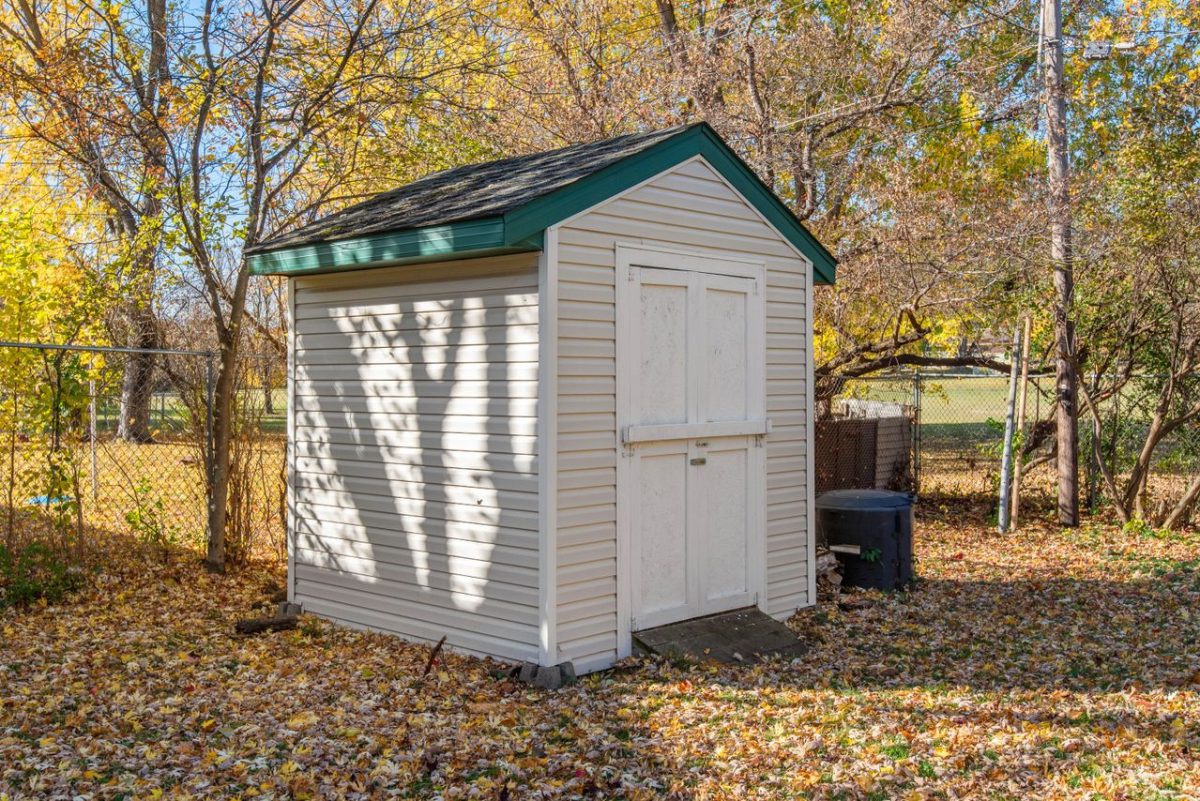
Fall has a funny way of exposing every bad decision made in a garden shed since spring. A shovel ends up behind three bags of potting mix, twine develops an impressive relationship with the pruning shears, and somebody puts the hose nozzle somewhere so mysterious that it may require an archaeological dig. Preparing the shed for fall does not require a shopping spree for matching bins, fancy racks, or another plastic contraption with twelve compartments. A little sorting, cleaning, and creative reuse can make the space easier to navigate before cold weather arrives.
The best part involves using things already sitting around the house or shed. Old buckets can corral hand tools, sturdy jars can hold small supplies, and scrap wood can turn into useful hanging space with a few screws. Fall also offers a natural reset point because many gardening jobs wind down while winter weather makes a cluttered shed increasingly annoying. Give the shed some attention now, and spring gardening can start with a shovel that actually has a reasonable chance of being found.
1. Empty the Shed Before You Organize It
Start by pulling out the loose tools, pots, bags, hoses, and miscellaneous objects that have accumulated on the floor and shelves. Do not attempt to organize everything while it remains wedged together, because clutter tends to hide clutter with remarkable efficiency. Set items into simple groups such as hand tools, long-handled tools, containers, soil products, garden chemicals, and seasonal equipment. Check each item for damage while it sits outside, since fall creates a convenient opportunity to repair a loose handle or replace a cracked pot before spring. Anything broken beyond repair should leave the shed instead of occupying valuable real estate.
Next, sweep the floor and knock dirt from shelves before putting anything back. Soil, dried leaves, and plant debris can accumulate in corners where they create a less-than-charming environment for pests. Look for signs of rodents, insects, moisture, or leaks while the space sits empty. If the shed contains pesticides, herbicides, or other garden chemicals, keep them in their original labeled containers and follow the storage instructions on each product. Never combine leftover products or pour them into unlabeled containers just to make the shelf look tidier.
2. Turn Old Containers Into Free Storage
A garden shed probably contains several perfectly useful containers that never received an official invitation to become storage. Clean buckets can hold gloves, hand pruners, plant labels, or rolls of twine, while sturdy coffee cans can corral small tools. Use containers that stand securely and resist moisture, particularly when the shed lacks climate control. Skip flimsy cardboard boxes because damp conditions can turn them into sad little pancakes before winter ends. A quick label with a marker can also prevent the classic shed problem of opening six containers to find one packet of plant ties.
Empty nursery pots offer another surprisingly useful option for keeping small items together. Stack pots by size, then place smaller supplies inside them instead of letting everything scatter across a shelf. An old metal pail can also hold frequently used tools, making it easy to grab several items at once when a late-season chore calls. Keep heavy containers on sturdy shelves or low surfaces so they cannot tumble down when someone reaches for something overhead. Free storage does not need to look glamorous, because the shed’s primary job involves making gardening easier, not winning an interior-design award.
3. Give Long-Handled Tools a Simple Parking Spot
Long-handled tools cause much of the chaos in a small shed because shovels, rakes, hoes, and cultivators occupy awkward amounts of floor space. Leaning them randomly against a wall creates a pile that seems harmless until one rake slides forward and knocks over everything nearby. Look around for scrap lumber that can support a basic row of hooks or tool holders. Even a sturdy piece of wood with appropriately sized hooks can create a dedicated parking area without requiring a store-bought organizing system. Fasten anything you install securely into suitable framing or another structurally sound surface.
Arrange the tools so frequently used items sit within easy reach. Place sharp edges and points where they cannot snag clothing or catch someone walking past them. Store tools clean and dry, and remove soil from blades before putting them away for the season. Wipe metal surfaces as needed and follow the manufacturer’s care recommendations for wooden handles, especially if the shed experiences temperature and humidity swings. A little intentional placement now can save a surprisingly dramatic floor-level wrestling match next spring.
4. Reuse Jars and Cans for Tiny Garden Supplies
Small gardening supplies possess an almost supernatural ability to disappear. Plant labels, clips, twist ties, spare fasteners, dibbers, and bits of string can scatter across shelves until the entire area resembles a hardware store after a minor tornado. Clean glass jars, food containers, or sturdy cans can keep these little items grouped without adding another storage purchase. Choose containers that close securely when the contents need protection from dust or moisture. Transparent containers offer an extra advantage because they reveal their contents without requiring a full excavation.
Group similar supplies rather than creating a separate container for every tiny object. One container can hold plant labels, another can hold clips and ties, and another can hold miscellaneous fasteners that actually belong together. Keep sharp objects such as loose blades or pointed hardware in containers that prevent accidental contact. If children regularly access the shed, keep potentially hazardous items out of reach and secure them appropriately. A few repurposed containers can transform a chaotic shelf into a place where small supplies stay visible and findable.
5. Use the Shed Walls Instead of the Floor
Floor space disappears quickly in a shed, so the walls deserve some attention. Look for unused vertical areas where sturdy hooks, screws, or salvaged boards can hold lightweight items such as gloves, aprons, baskets, or empty garden bags. An old ladder can sometimes provide useful hanging space if it remains structurally sound and sits securely. Do not overload makeshift storage, and avoid attaching hardware to weak siding that cannot support the weight. The goal involves getting manageable items off the floor without creating a wall-mounted avalanche.
Think about how each item moves through the gardening season when choosing its location. Put frequently used equipment where a quick reach can grab it, while winter-only supplies can occupy less convenient spots. Keep pathways clear enough to enter and exit the shed safely, particularly when poor weather makes outdoor footing slippery. Leave room around anything that requires ventilation or special clearance according to its manufacturer’s instructions. Good shed storage follows the same principle as a good kitchen: the things used most often deserve the easiest access.
6. Inspect the Shed for Water and Winter Problems
Fall provides an excellent opportunity to inspect the building itself rather than focusing only on its contents. Check the roof, door, windows, and walls for obvious gaps, damaged seals, leaks, or areas where water can enter. Look beneath stored items for dampness or water stains, because hidden moisture can damage tools and supplies long before anyone notices a problem. Make sure the door closes properly and that its hardware still works smoothly. A small repair now can prevent a much more annoying cleanup after months of winter weather.
Pay particular attention to anything that should remain dry, including seeds, paper labels, wooden-handled tools, and certain garden products. Follow the storage directions printed on product labels rather than assuming every gardening supply can tolerate freezing temperatures. Never store fuel, chemicals, or other hazardous materials casually beside ordinary gardening supplies. Keep incompatible products separated according to their labels, and make sure containers remain closed and clearly labeled. The prettiest shed in the neighborhood still has a storage problem if moisture or unsafe materials can turn it into a springtime headache.
7. Create a “Spring Starts Here” Zone
Before closing the shed for the season, choose one easy-to-reach area for the tools and supplies that will matter first when gardening season returns. A small collection of hand tools, clean pots, labels, gloves, and other basics can sit together instead of hiding behind winter equipment. This approach works especially well when the shed contains supplies for several different gardening tasks. Label the area with a scrap of cardboard or leftover sign material if necessary. The homemade sign does not need graphic design skills, because nobody awards bonus points for typography in a garden shed.
Take a final look around before putting away the last tool. Make sure nothing leans precariously, blocks the entrance, or rests directly on a damp floor. Leave obvious space for anything that will come out again during late fall, such as a rake, shovel, or winter equipment. Then close the door and let the shed do its quiet winter job while the garden heads into dormancy. When spring arrives, that small amount of preparation can turn the first warm gardening day from a scavenger hunt into an actual gardening session.
A Better Shed Does Not Need a Shopping Cart
The smartest shed makeover may involve no makeover at all. Removing broken items, cleaning surfaces, reusing containers, creating simple tool parking spots, and checking for moisture can accomplish more than filling the building with expensive organizers. Good storage should make tools easier to find, protect equipment from avoidable damage, and leave enough room to move safely. It should also match the way the shed actually gets used, because an elaborate system that nobody maintains quickly becomes another layer of clutter. A tidy garden shed does not need to look perfect, it simply needs to make the next gardening job easier.
What is the cleverest no-buy storage trick that has worked in your garden shed?
You May Also Like…
6 Gutter-Free Ways to Catch Rainwater From a Garden Shed
7 Crops That Make Good Use of a Finished Corn Patch
The Backyard Garden Design Trend Everyone Is Copying in 2026
The Forgotten Garden Tool That’s Causing Electrical Fires in Sheds
How to Keep Garden Tools Rust-Free Without Chemicals

Brandon Marcus is a staff writer for FrugalGardening.com at District Media, Inc., where he delivers practical gardening advice with a relatable, no-nonsense style. An avid amateur gardener, he holds a BA degree and with over ten years of professional writing experience, he is also an award-winning published author whose first book, Questions For Deep Thinkers, was released by Adams Media. His work has appeared in major publications including Fandom.com, CHUD.com, TheColdWire.com, and Fansided.com.
Leave a Reply