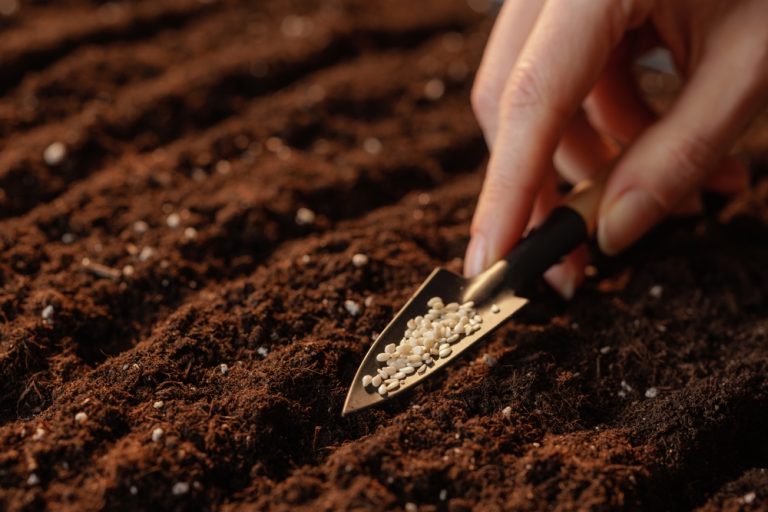
A seed holds everything it needs to become a living, breathing plant, yet not every seed rises to the occasion. That tiny package carries instructions, energy, and potential, but one wrong move can shut the whole process down before it even begins. Germination looks simple from the outside, but the truth hides beneath the soil…
seeds
9 Seeds You Can Plant Immediately — No Matter the Weather
A garden doesn’t wait for perfect weather, and neither should anyone who feels ready to plant something that actually grows. Weather swings from warm to icy without warning, but certain seeds push through cold soil, shrug off gloomy skies, and reward anyone bold enough to plant them right now. These seeds don’t demand ideal conditions….
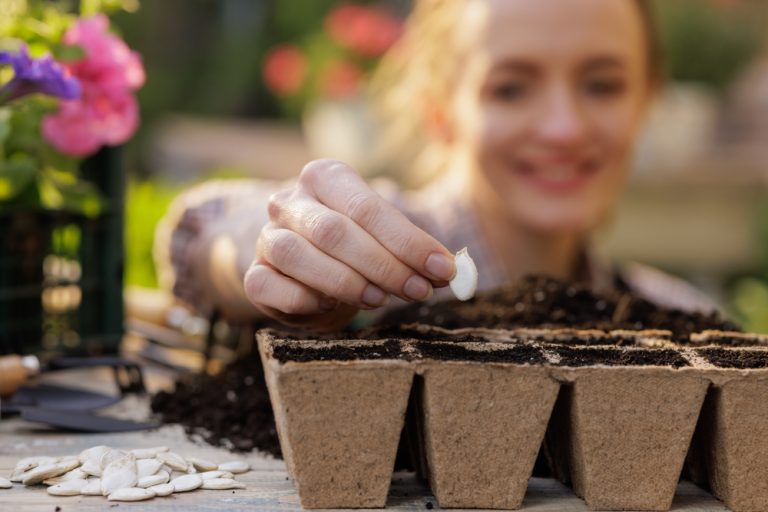
8 Seeds That Germinate Reliably Without Special Equipment
If you’ve ever planted seeds with big hopes and tiny results, you’re not alone. Many people assume gardening requires grow lights, heat mats, humidity domes, and an entire shelf of gadgets just to get anything to sprout. The truth is, nature already designed plenty of plants to grow without human help, which means you don’t…
Are You Overwatering Plants Before They Even Go Outside?
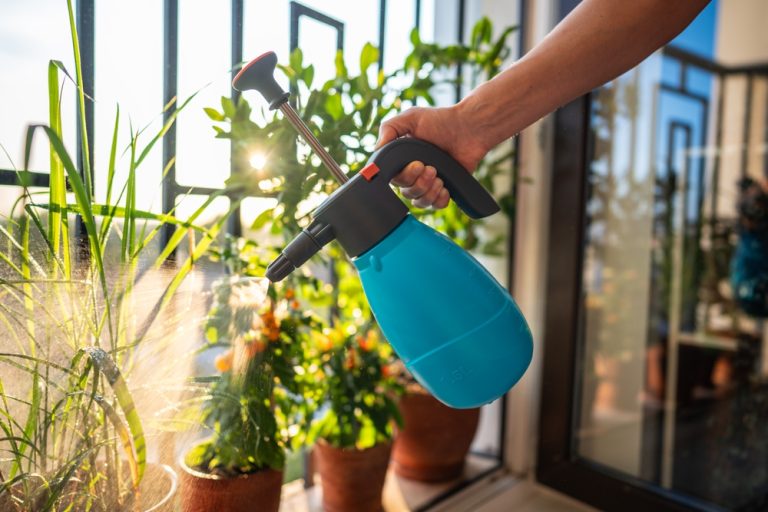
The excitement starts the moment those first green shoots pop through the soil, and suddenly every windowsill turns into a mini greenhouse full of hope, promise, and tiny leaves reaching for the sun. You check them every morning, maybe every afternoon, and definitely every night, because these seedlings feel like your responsibility and your pride….
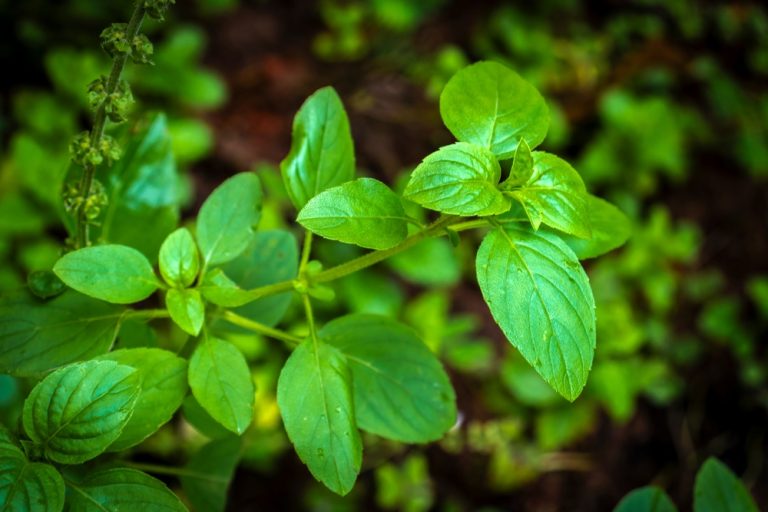
7 Seed-Starting Mistakes That Cost More Than They Should

Seed starting feels like pure optimism in physical form. Tiny packets promise tomatoes the size of softballs, basil that smells like summer, and flowers that stop neighbors mid-walk. Many gardeners jump in buzzing with excitement, only to watch trays of soil sit there like they missed the memo. These failures do not usually come from…
Gardeners Are Buying Seeds Earlier to Avoid Spring Shortages
Seed catalogs now land with the excitement of a holiday gift, and gardeners no longer toss them onto the coffee table for later. Many open them immediately, pen in hand, circling varieties with the intensity of a sports draft. Garden centers notice the shift, seed companies feel the pressure, and backyard growers feel oddly triumphant…
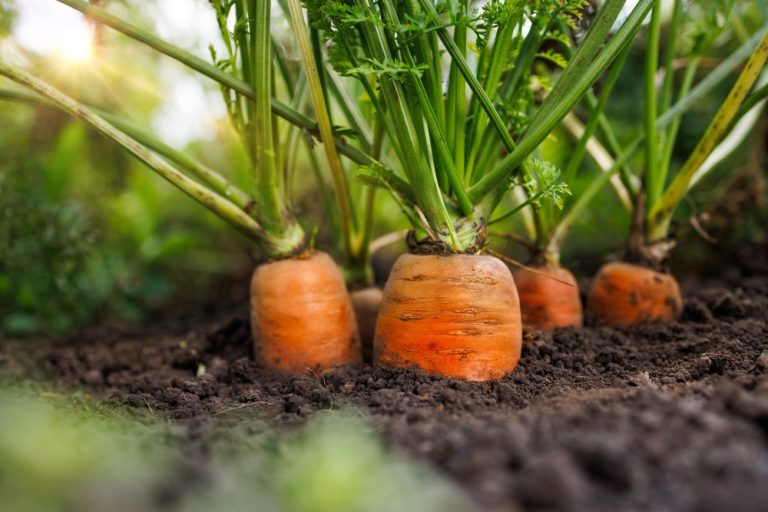
12 Seeds You Should Start Early If You Want Big Spring Harvests
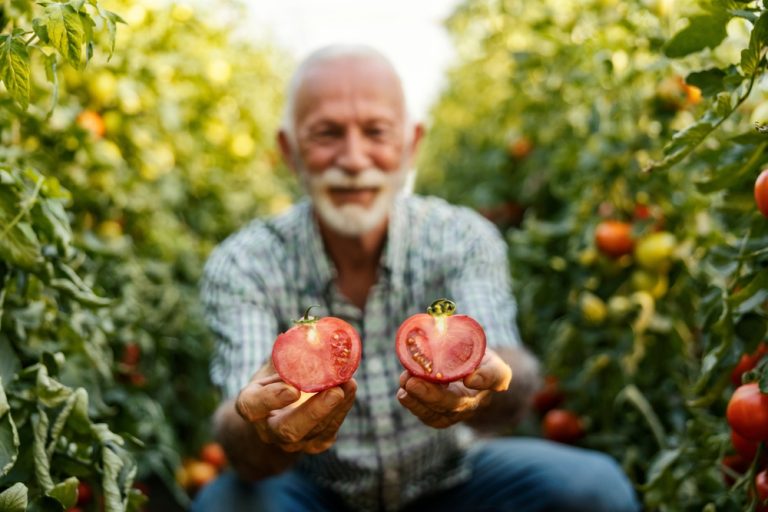
Spring harvests don’t happen by accident. They’re planned, plotted, and quietly started weeks before the soil outside is ready. While winter is still dragging its heels, gardeners who know the secret are already potting up trays, watching green shoots stretch toward the light. Starting certain seeds early gives plants a head start that translates into…
10 Winter Garden Tasks That Save You Hours in March
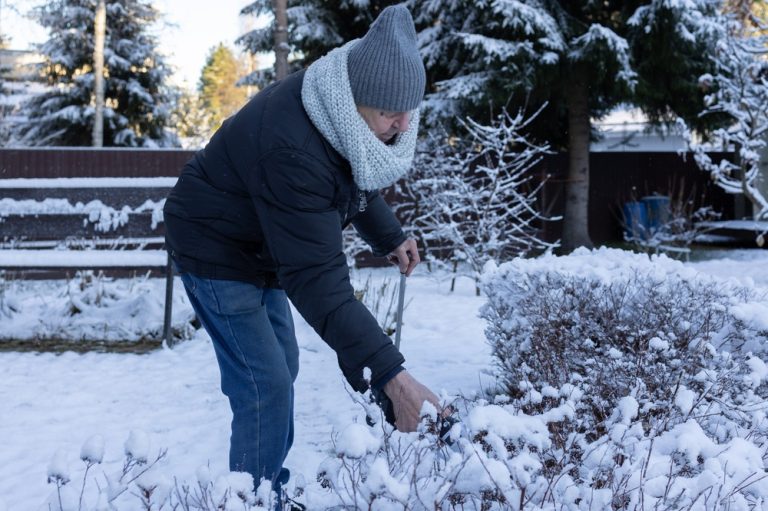
Winter can feel like a slow, gray pause in the garden, but this is actually the perfect time to get ahead. While the frost glazes the lawn and the soil is stiff with cold, gardeners who plan carefully now will glide into March with effortless ease. By investing just a little energy in these winter…
What USDA Zone 7 Gardeners Should Be Doing Right Now (And What to Skip)

The garden may look quiet, but don’t be fooled—this is one of the most powerful moments of the year for USDA Zone 7 gardeners. While beds nap under winter skies, smart choices made right now can mean the difference between a garden that merely survives and one that absolutely shows off. This is the season…
7 Things Gardeners Regret Not Doing in January—Don’t Make These Costly Mistakes
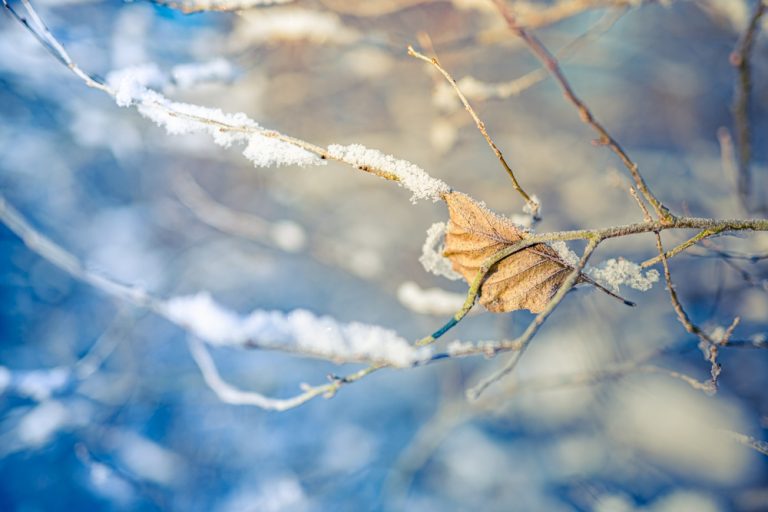
January doesn’t look flashy in the garden, but it quietly decides who will be smiling come spring and who will be scrambling. While beds nap under frost and seed catalogs pile up on the coffee table, important opportunities are ticking by. This is the month where small choices ripple into big wins—or lingering regrets. Gardeners…