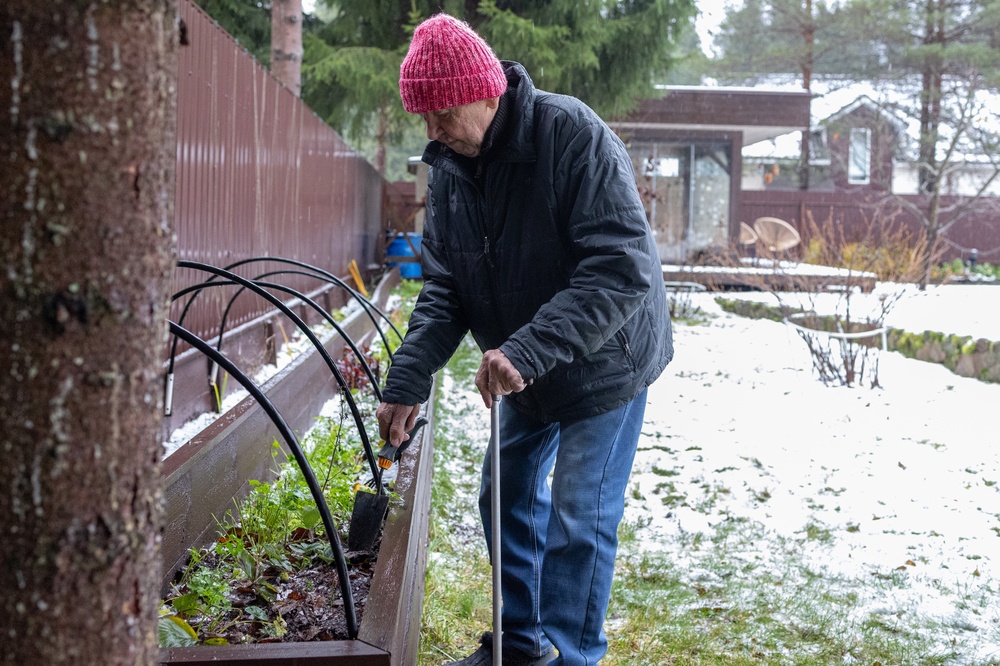
By the time the last tomato plant comes out of the ground, it’s tempting to toss your shovel, pruners, and trowels into the shed and forget about them until spring. That shortcut can leave you opening the shed months later to find rusted metal, dull blades, cracked handles, and tools that are harder to use than you remember. Quality garden tools aren’t cheap, and replacing several neglected ones can wipe out much of the money you saved by growing your own vegetables. A little winter garden tool maintenance now can protect what you already own and make the first gardening day next spring considerably easier. Before you shut the shed door for the season, give your tools these six simple forms of attention.
1. Clean Off the Dirt Before It Spends Winter There
Start by removing the soil, sap, grass, and plant material still clinging to shovels, hoes, trowels, forks, and pruning tools. University of Minnesota recommends removing visible soil and debris before storing tools because dirt can interfere with disinfection and plant material can harbor disease-causing organisms. A stiff brush works well for dried soil, while water and detergent can tackle grime that doesn’t brush away easily. Pay particular attention to joints, springs, blades, and the space between tines where damp debris can remain long after the outside of a tool looks clean. Good winter garden tool maintenance starts with putting away clean equipment rather than preserving an entire season’s worth of garden dirt until spring.
2. Disinfect Tools That Have Been Around Diseased Plants
Cleaning removes visible dirt, but some tools deserve an additional disinfection step before storage. This is particularly important if you’ve been pruning or removing plants affected by bacterial, fungal, or viral diseases because contaminated tools can help move pathogens from one plant to another. There are other options, including 70% or stronger isopropyl alcohol and certain ready-to-use disinfectants, but it also cautions gardeners to follow product labels, use appropriate protective equipment, and never mix disinfecting chemicals. Clean away soil first because debris can reduce a disinfectant’s effectiveness, then allow treated tools to dry completely before storing them. Don’t assume that putting contaminated pruners in a shed for several cold months automatically makes them ready to use on healthy plants next spring.
3. Deal With Rust Before It Gets Worse
A small rusty patch is much easier to address now than a badly corroded tool after another damp winter. Try using steel wool to remove low to moderate rust from pruning tools before sharpening and warns that serious corrosion can eventually make parts difficult to disassemble or replace. Inspect shovel edges, hoe blades, trowels, pruning blades, springs, bolts, and other exposed metal while you’re cleaning them. Once the rust is removed and the tool is dry, you’ll be in a much better position to protect the metal before storage. Catching corrosion early is one of those winter garden tool maintenance jobs that can save both work and replacement costs later.
4. Sharpen the Tools That Are Supposed to Cut
Pruners, loppers, hoes, and other cutting tools shouldn’t have to fight their way through every stem or weed next spring. Utah State University recommends sharpening hand tools before winter storage and says the beveled side of blades can be sharpened with a hand file or ceramic sharpening stone. Pruning blades require a little more attention because you should follow the blade’s existing bevel rather than creating a new angle, and bypass any anvil tools aren’t sharpened identically. If you’re uncomfortable sharpening an expensive tool yourself, paying for professional sharpening may make more financial sense than damaging a blade and replacing the entire tool. Adding sharpening to your winter garden tool maintenance routine means you can start spring with equipment that’s ready to work rather than another repair project.
5. Protect Metal and Wooden Handles Before Storage
Once metal tools are clean, dry, and sharp, a light protective coating can help prevent rust during storage. You can rub metal items with a small amount of linseed, tung, or mineral oil. It’s not advised that you use motor oil because it could transfer to plants. Wooden handles deserve attention too, especially if they’re becoming dry or rough, and a little linseed oil can help prevent wooden handles from cracking. While you’re working, check handles for splinters, cracks, loose heads, damaged grips, missing screws, or other problems that could make the tool unsafe or uncomfortable next season. A few minutes of preventive care is usually cheaper than replacing a shovel or garden fork because its neglected handle finally failed.
6. Store Everything Somewhere Dry and Protected
Even perfectly maintained tools can deteriorate if you leave them lying on a damp garage floor or leaning where water regularly reaches them. Store tools off the ground and away from moisture in a shed, barn, garage, or other protected location. Hanging long-handled tools on racks or hooks also protects sharpened edges while making it easier to see what you already own when gardening season returns. Don’t forget garden hoses either, because you should drain them before loosely coiling them for storage. The final step in winter garden tool maintenance isn’t simply getting everything indoors—it’s keeping clean, dry equipment dry until you actually need it again.
Don’t Forget Equipment With an Engine
Hand tools aren’t the only garden equipment that can suffer after being parked for several months. Lawn mowers, tillers, and other gasoline-powered equipment may need fuel-system maintenance before winter. You should also add gasoline or a fuel stabilizer while following the manufacturer’s recommendations. This is one area where you shouldn’t rely on a universal internet shortcut because storage instructions can differ by engine and manufacturer. Check the owner’s manual for your specific machine, inspect filters and other routine maintenance items, and address obvious problems now rather than discovering them on the first warm weekend of spring. Spending a little time winterizing equipment can help avoid the frustrating—and potentially expensive—experience of an engine that refuses to start after months in storage.
Ten Minutes Now Can Save Money Next Spring
You don’t need a workbench full of specialty products to make winter garden tool maintenance worthwhile. Cleaning off soil, addressing rust, sharpening appropriate blades, protecting exposed metal, checking handles, and choosing a dry storage location can extend the usefulness of equipment you’ve already paid for. Proper maintenance can extend tool life, which matters when high-quality shovels, pruners, loppers, and other garden equipment represent a real investment. Make a quick inventory while you’re working so you’ll also know what genuinely needs replacement before spring instead of buying duplicates because you forgot what was buried in the shed.
Which garden tool do you always clean and maintain before winter—and which one are you guilty of tossing into the shed covered in dirt? Share your routine in the comments.
What to Read Next
How to Store Garden Tools for Winter Without Buying New Organizers
10 Gardening Tools People Say Are Total Waste of Money
The One Gardening Tool People Over 60 Say They Wish They Bought Earlier
Leave a Reply