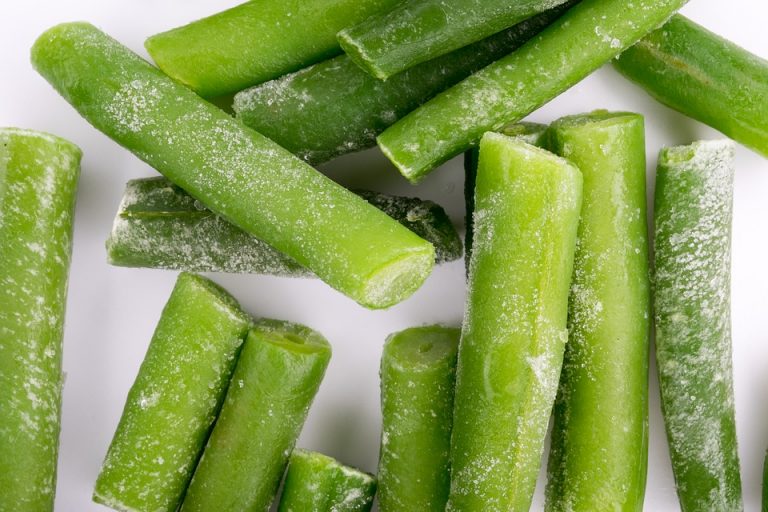
Pack up the taste of summer by preserving it in your freezer. Avoid waste and save money during the winter months by freezing freshly picked garden vegetables. Nothing beats the taste of fresh summer produce, and while there are many preservation methods available to conserve the bounty of the season, options such as fermenting and…
Uncategorized
Maximize the Harvest: Preparing Now for the Fall
It’s only August, so why am I bringing up the fall already? While stores are already preparing for Halloween, gardeners are still enjoying the warm days of summer. If you’re looking to get the biggest bang for your buck in your garden, planning in anticipation of fall is critical. Sowing seed now and keeping your…
Keeping Up with the Harvest
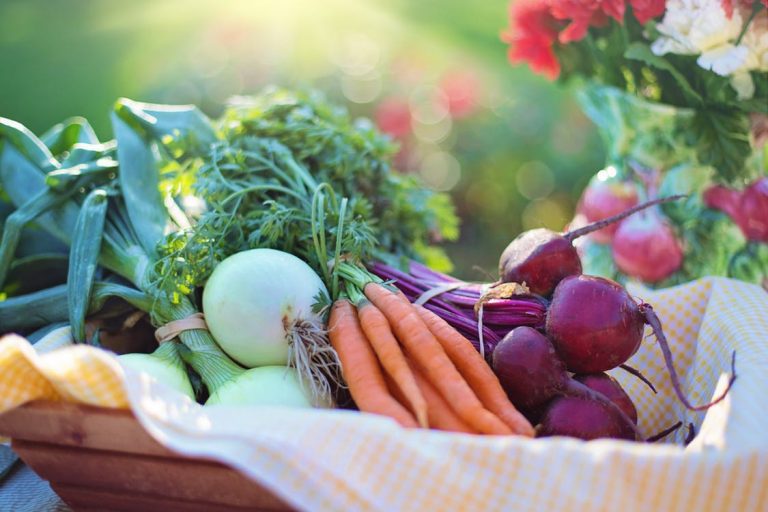
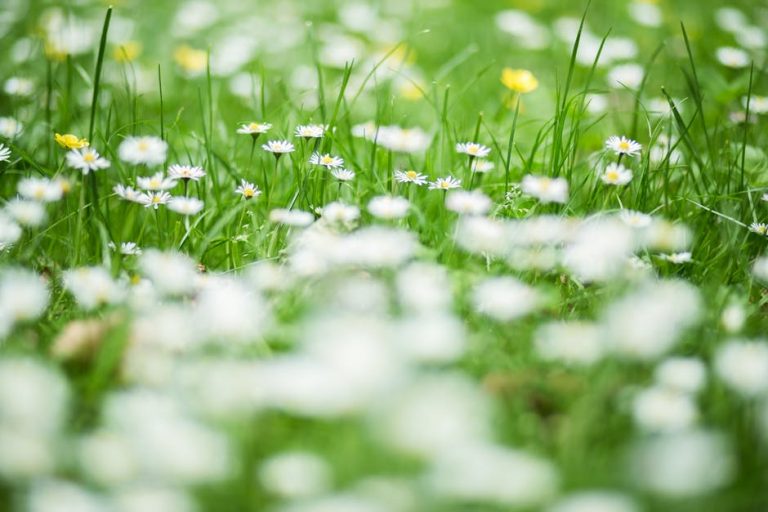
Summer is in full swing, and that means the gardening season has really begun. Seeds and seedlings have grown into sturdy, productive plants. Pollinators are out in grand numbers, and there’s no shortage of stuff to pick from the branches, vines and stems around the garden. Tomatoes are starting to ripen, eggplants are slowly appearing,…
Top Ten Frugal Gardening Tips
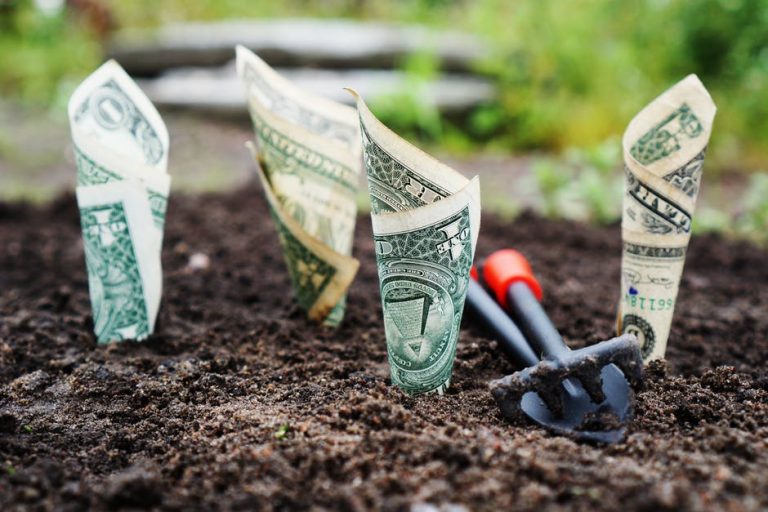
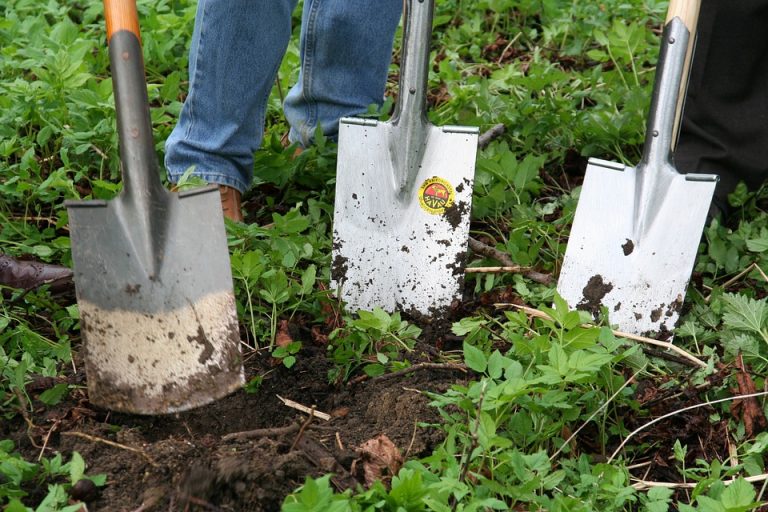
Gardening doesn’t need to be an expensive hobby. I’ve been digging in the dirt for a long time, and have found ways to minimize costs and maximize results. Here are my top ten ways to garden frugally and keep this rewarding hobby affordable. All of these are tried and true, as well as easy to…
Frugal Gardening Quick Tips
Have a great gardening tip that saves money? Share it with us. Simply email us so we can share it with everyone and others can save from your favorite frugal gardening tricks: Weeds If you need to use a weed killer, buy the concentrate. It’s expensive, and it doesn’t work as well if you dilute…
More Gardening Articles
Prepare Your Lawn For Fall By Matt Morrison Hemingway once said, “America is the land of wide lawns and narrow minds.” Now, I don’t know about narrow minds, but we definitely love our lawns. Fall is one of the most important times of the year to perform lawn care maintenance. The process you need to…
5 Frugal Gardening Traits
If you’re creating a garden on the cheap or going for the frugal to downright FREE garden, here’s my list of must haves: 1) The frugal gardener needs to be flexible, as in no master landscape plan set in concrete. The frugal gardener lets the plants be the guide and the garden sort of “happens…
Build An Organic Waste System
Want to take your kitchen to a new level of “green”? Tried a compost pile in your backyard and had to hide from your neighbors due to the smell? Tired of finding your compost items brought out to your front yard by the neighborhood animals? Well, there is an alternative. Make a backyard food waste…
Free Garden Party Plants

There are a lot of different ways to acquire free plants and even unusual ways depending on how adventurous you are. Another sneaky way to acquire free plants is to throw a Garden Party. No, not the big hat, posh refreshment type of Garden Party, but a party to increase the size of your garden….
Reusing Stuff In Your Garden
Earth Day isn’t just a day in April to frugal gardeners. No matter what month it is, we’re always on the look out for ways to tread lightly in our little corner of the world. Here is a short list of some of the items which many people throw away that I reuse in some…