• Skip to primary navigation
  • Skip to main content
  • Skip to primary sidebar

Frugal Gardening

Simple ways to save money while you garden

  • About
  • Contact Us
  • Garden Frugally
  • Buy These
  • Our Editorial Commitment
  • Navigation Menu: Social Icons

    • Facebook
    • Pinterest
    • Twitter

How to Build a Compost Bin Outdoors in 5 Simple Steps

February 25, 2025 by Vanessa Bermudez Leave a Comment

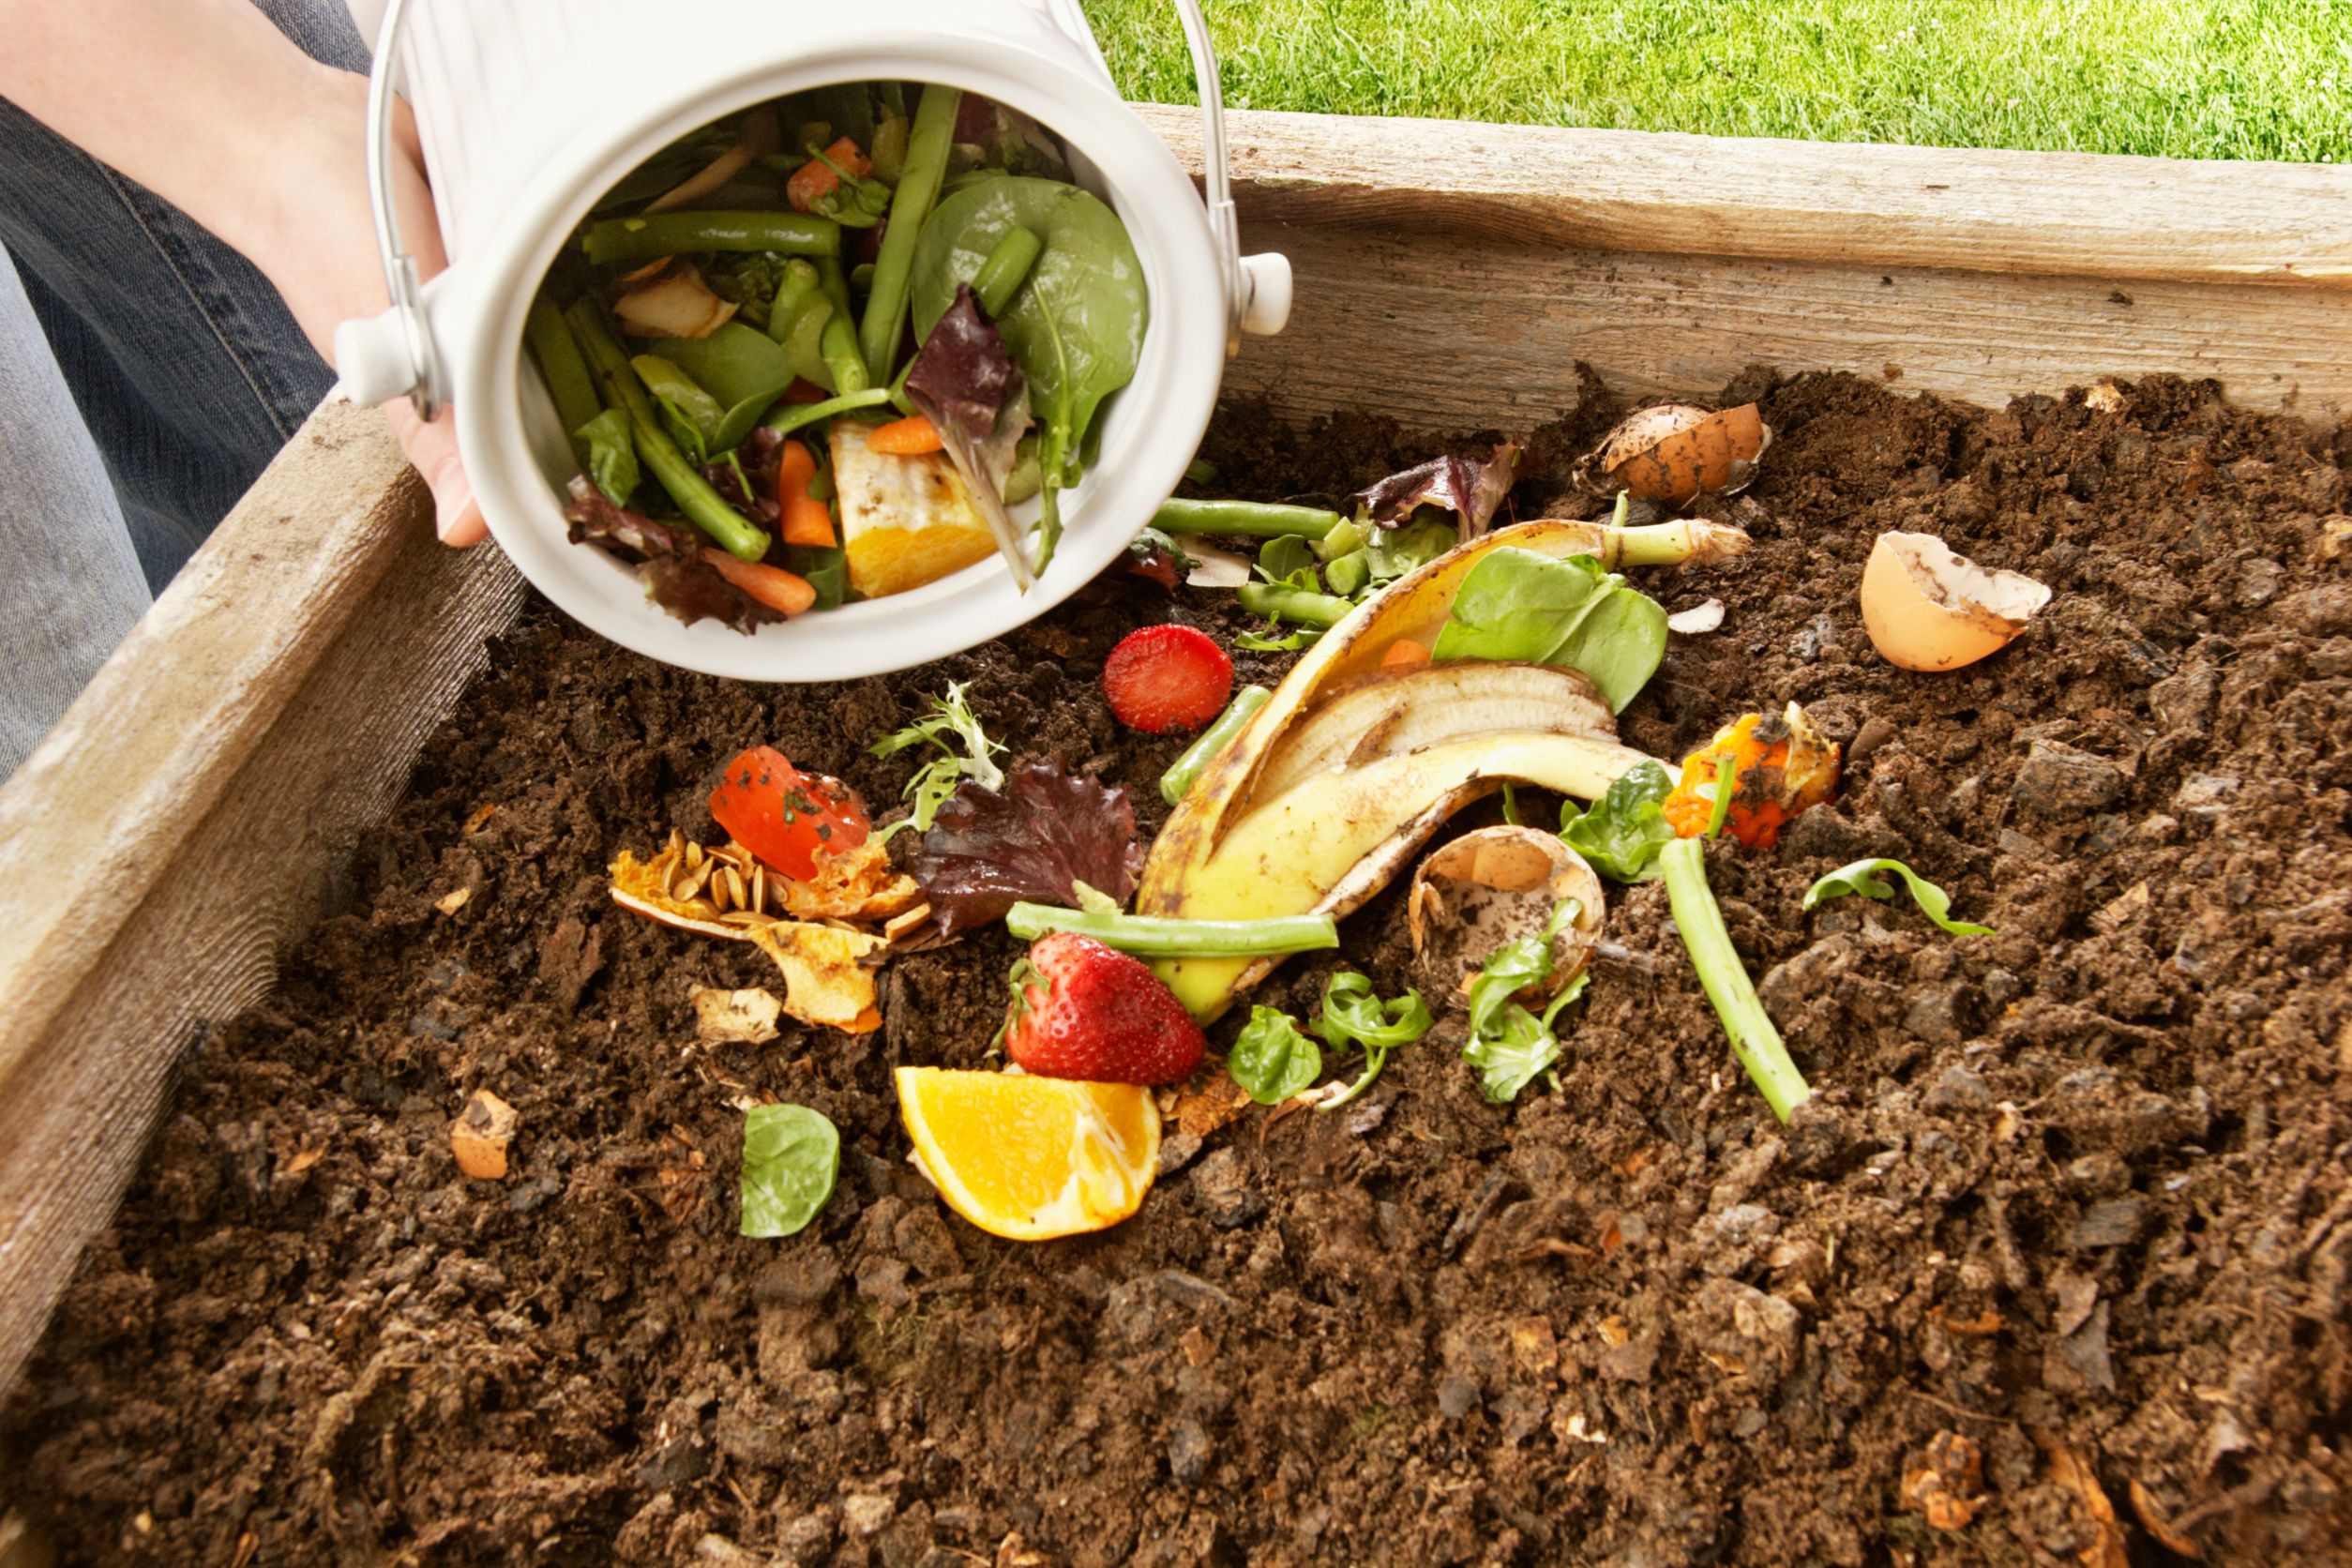
diy compost bin outdoor
Image Source: Canva

If you want to cut down on waste while making nutrient-packed soil for your garden, why not consider composting? You don’t need to be a pro to make a good composting station. With a DIY compost bin outdoor, you can easily transform kitchen scraps and yard waste into something useful. Here are five simple steps to get started.

1. Choose the Perfect Location

Selecting the right spot is essential for a successful composting setup. Look for a well-drained area that receives partial sunlight to maintain optimal decomposition temperatures. Ensure the spot is easily accessible so you can regularly add materials and turn the compost. Avoid placing it too close to your home to prevent unwanted odors and pests. A flat surface will help keep your compost bin stable and secure.

2. Gather Your Materials

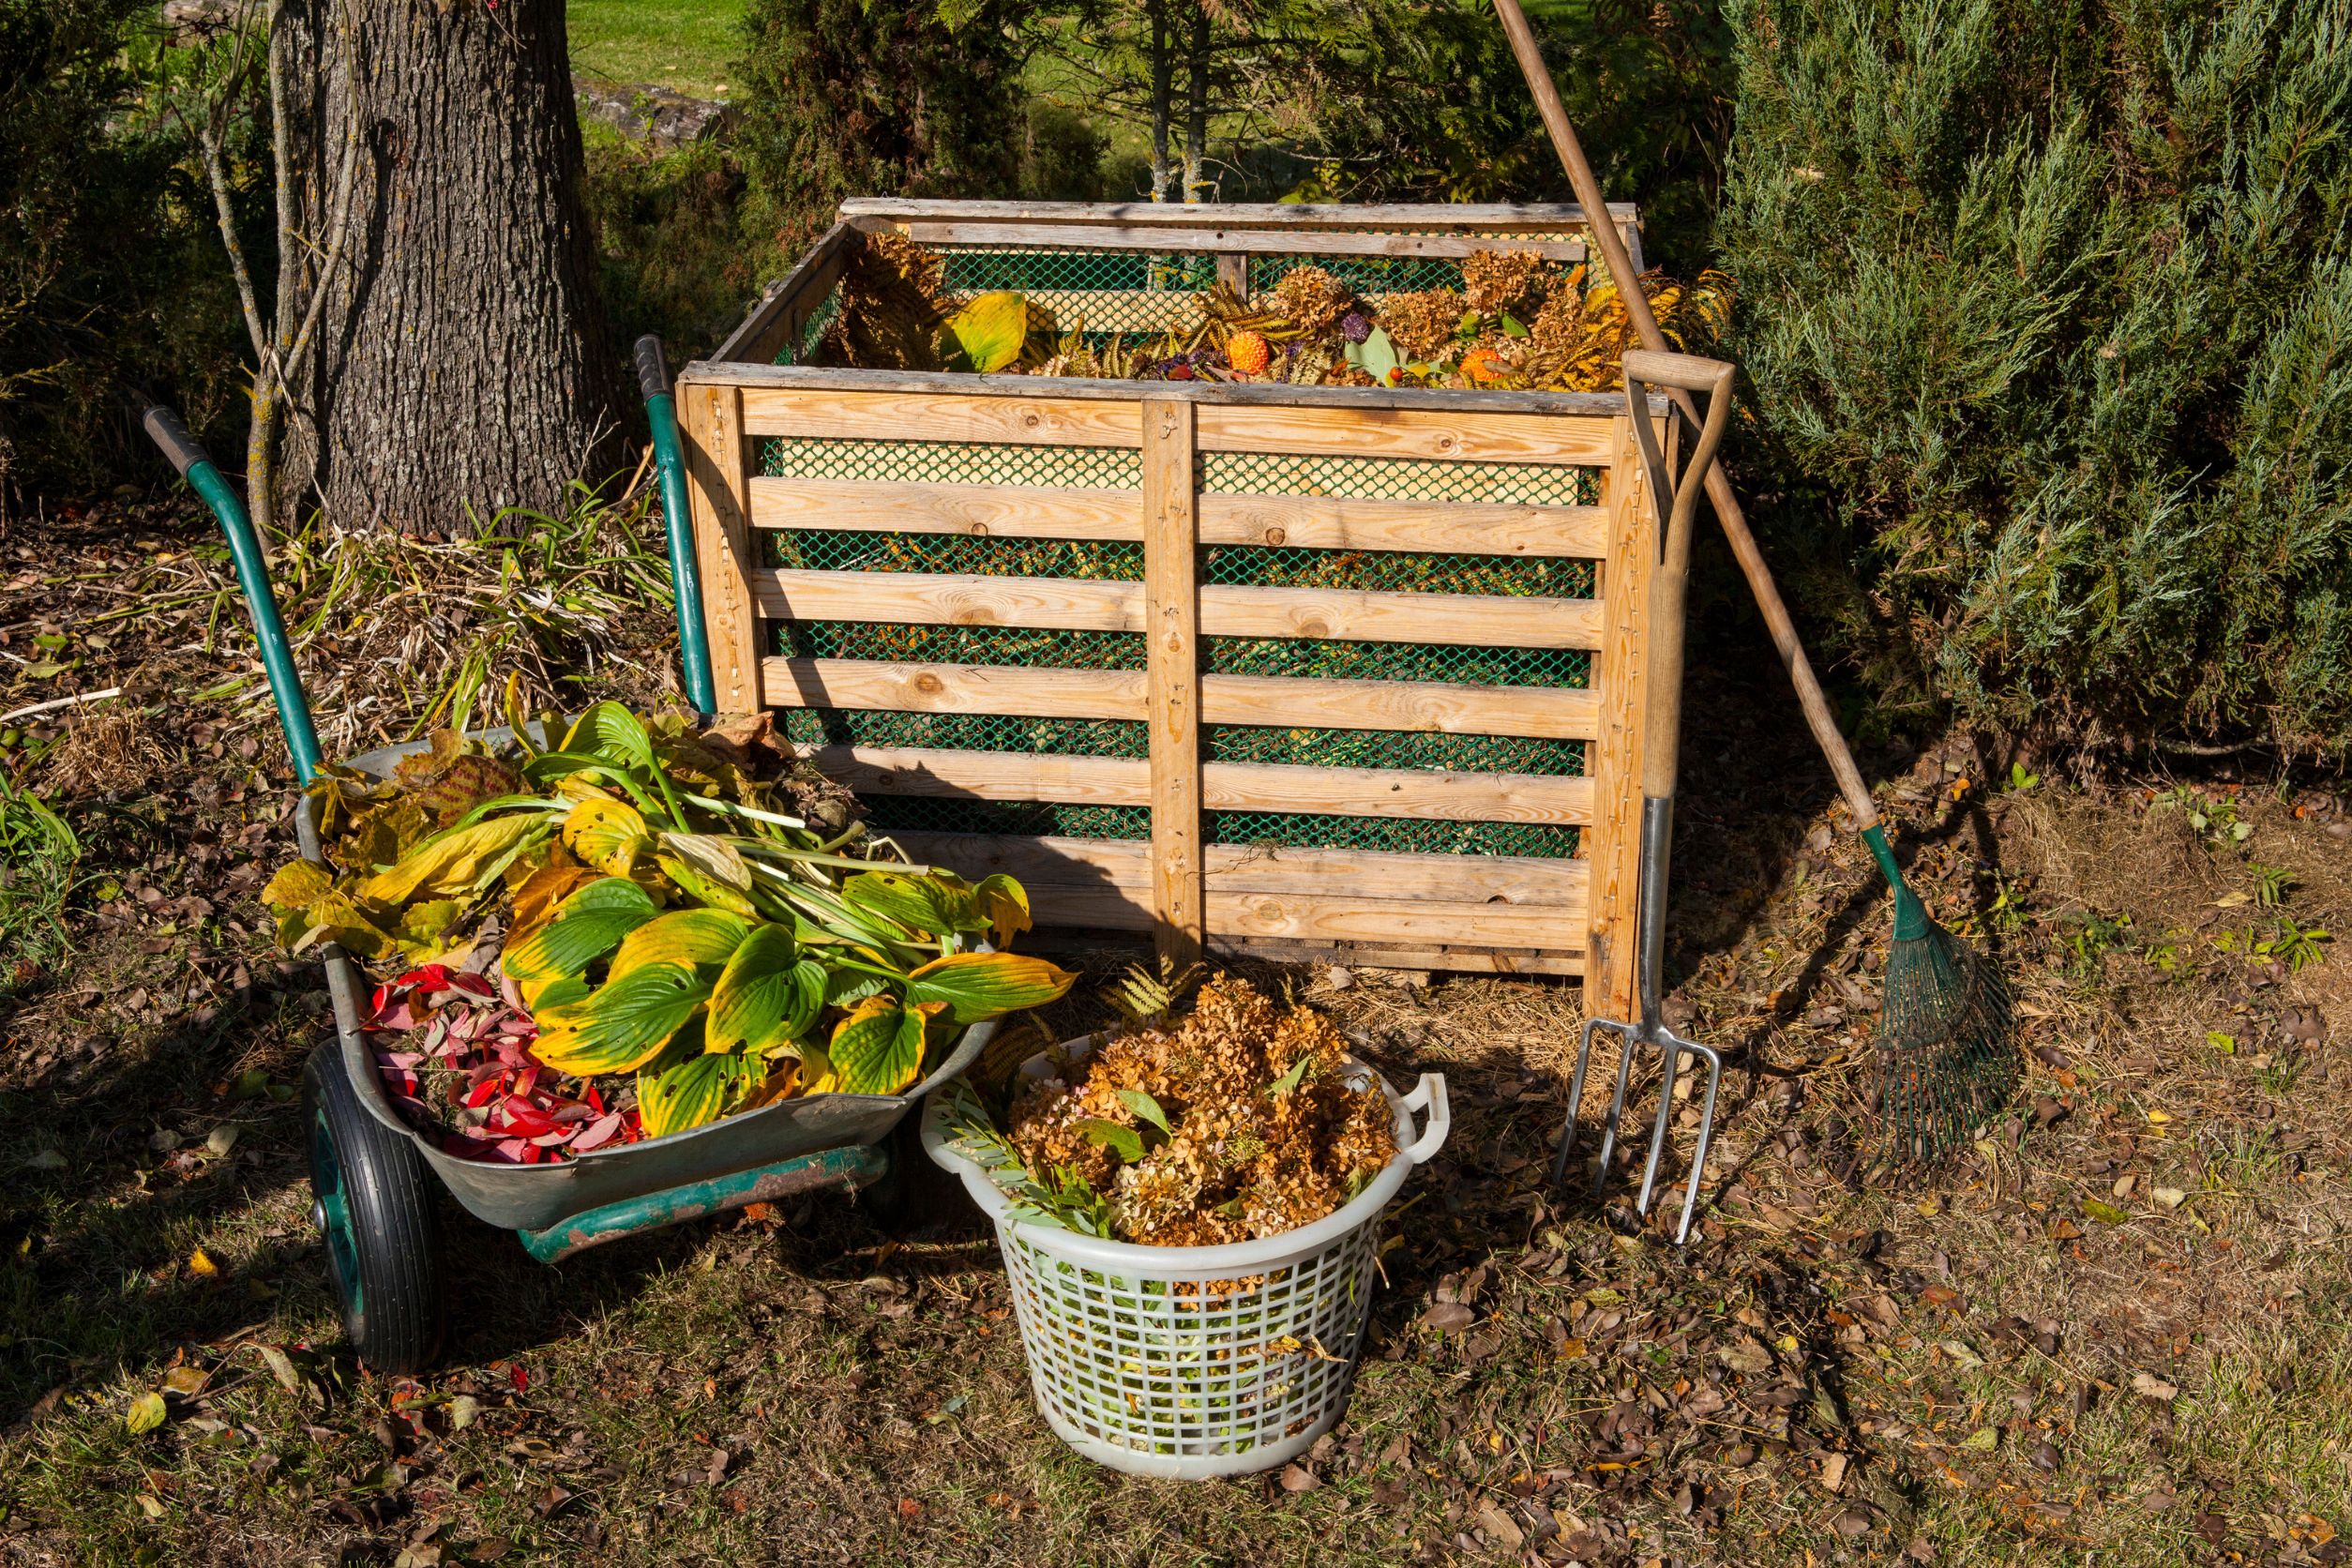
You can build an outdoor compost bin with a variety of materials, depending on your budget and preferences. Wooden pallets, wire mesh, or plastic storage bins work well for DIY compost bins. If using wood, opt for untreated lumber to prevent chemicals from leaching into your compost. Make sure your materials allow for proper airflow to speed up the decomposition process. A sturdy design will help keep critters out and your compost contained.

3. Assemble the Compost Bin
compost bin
Image Source: Canva

Once you have your materials, it’s time to put your bin together. If using pallets, secure them into a square or three-sided structure using nails or screws. For a wire mesh bin, shape the mesh into a cylinder and fasten the ends together. If repurposing a plastic bin, drill ventilation holes on the sides and bottom for airflow. Keep the size manageable—about three feet wide and tall—to maintain an ideal composting balance.

4. Start Adding Compostable Materials

With your bin in place, begin layering compostable items. Add green materials like fruit and vegetable scraps, grass clippings, and coffee grounds for nitrogen. Balance them with brown materials such as dry leaves, cardboard, and straw to provide carbon. Avoid adding dairy, meat, and oily foods, as they attract pests. Turn the pile every few weeks to aerate it and speed up decomposition. Keeping the mix moist but not soggy will help create rich, crumbly compost faster.

5. Maintain and Harvest Your Compost

Regular maintenance is key to successful composting. Monitor moisture levels—if it’s too dry, add water, and if it’s too wet, mix in more brown materials. Turn the pile every one to two weeks to prevent odors and encourage even decomposition. Within three to six months, you should see dark, earthy-smelling compost at the bottom of your bin. Once ready, use it to enrich garden beds, potted plants, or lawns. Sift out any large chunks and return them to the bin for further breakdown.

Start Your DIY Compost Bin Outdoor Today!

Remember, a DIY compost bin outdoor doesn’t have to be complicated. With just a few simple steps, you’ll be well on your way to creating a healthy soil for your garden while reducing waste and helping the environment. So why wait? Get started today and watch your garden thrive!

Read More:

  • Use These 8 Winter Composting Tips for Gardeners
  • Frugal Gardening: How to Budget Money on a Low Income and Still Grow a Beautiful Garden

Vanessa Bermudez

Vanessa Bermudez is a content writer with over eight years of experience crafting compelling content across a diverse range of niches. Throughout her career, she has tackled an array of subjects, from technology and finance to entertainment and lifestyle. In her spare time, she enjoys spending time with her husband and two kids. She’s also a proud fur mom to four gentle giant dogs.

Filed Under: composting Tagged With: compost bin, composting, DIY compost bin

Previous Post: « How to Create an Endless Food Supply from Your Kitchen Waste
Next Post: 10 Must-Have Gardening Supplies That Won’t Drain Your Wallet »

Reader Interactions

Leave a Reply Cancel reply

Your email address will not be published. Required fields are marked *

Primary Sidebar

Struggling to get your garden off the ground? Put those days behind you with our special starter kit – perfect for thrifty green thumbs everywhere. Get growing and add a splash of color today!

Popular Posts

  • usda free seeds websiteHow To Get Free Seeds From The Government by Amanda Blankenship Seeds might seem like a small expense, but any seasoned…
  • Enviro Ice On PlantsShould I Use Enviro Ice On My Plants? by Kathryn Vercillo Every week, I receive food from Hungryroot. It's a great…
  • is shredded paper good for the gardenFrom Trash to Treasure: Transform Shredded Paper Into Garden Gold by Amanda Blankenship Should you use shredded paper as garden mulch? It might…
  • Enviro IceWhat Happens to Plants If You Use Enviro Ice on Them? by Amanda Blankenship About a year ago, I wrote our first article about…
leaving fall leaves on the lawn

Should You Leave Fallen Leaves on the Lawn? Yes and No

For years, the standard fall routine was simple: rake every leaf, stuff the pile into bags, and make the lawn look as though autumn never happened. Now gardeners are increasingly told to “leave the leaves,” which sounds wonderfully easy until a thick layer of wet maple leaves is plastered across the grass. The truth is…

Read More

using fall leaves in the garden

Don’t Bag Those Fall Leaves — They Could Replace 3 Things You Pay for in the Garden

Every fall, homeowners rake up something useful, stuff it into bags, haul it away, and then head back to the garden center a few months later to buy products that do many of the same jobs. Fallen leaves aren’t simply yard debris; they’re a free source of organic material that can protect soil, suppress weeds,…

Read More

growing an avocado tree from a pit

Can You Grow an Avocado Tree From the Pit — And Will It Ever Produce Fruit?

You finish an avocado, look at the enormous pit left on the cutting board, and wonder why you’d throw away something that appears perfectly capable of becoming another plant. The good news is that growing an avocado tree from a pit really does work, and you don’t need an expensive propagation kit to try it….

Read More

planting clearance perennials in fall

The $30 Perennial Is Now $8 — Can You Plant It This Late?

The garden center’s clearance table can become dangerously tempting in fall: that perennial you refused to pay $30 for in May is suddenly wearing an $8 sticker. Saving $22 sounds like a fantastic gardening win, but planting clearance perennials in fall only saves money if the plant survives long enough to return next spring. Fall…

Read More

  • About
  • Contact Us
  • Garden Frugally
  • Buy These
  • Our Editorial Commitment
  • Navigation Menu: Social Icons

    • Facebook
    • Pinterest
    • Twitter
  • Facebook
  • Pinterest
  • Twitter

Copyright © 2026 · Foodie Pro & The Genesis Framework