Buying Seedlings: Getting Your Money’s Worth


Buying Seedlings Getting Your Money's Worth

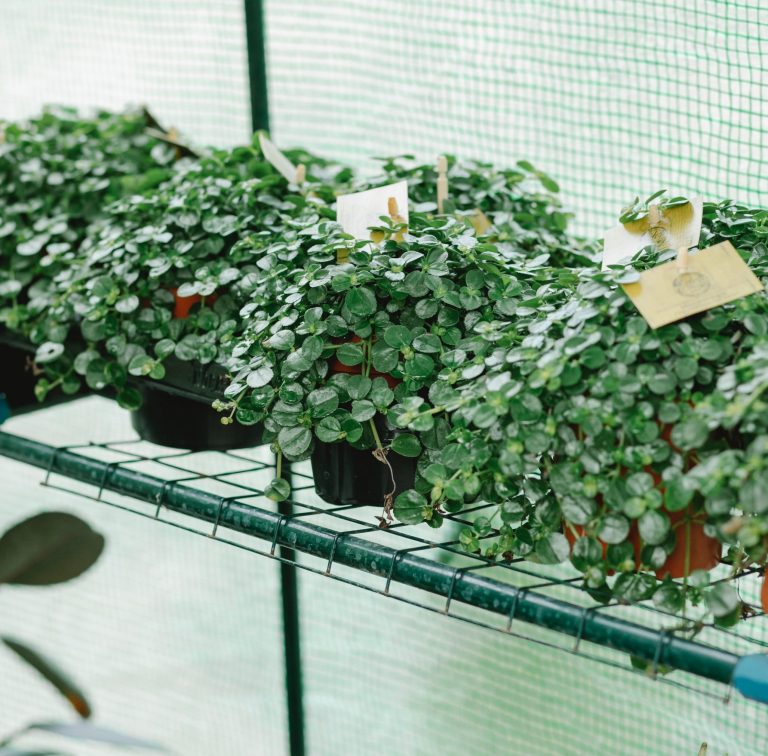
I am exhausted to the bone. Normally, at this time of year, I get excited about seed starting. I take stock of my seed supplies, order seeds I’m missing, and start planning out my garden. This year, I’ve yet to do any of that. I’m too overwhelmed and tired, so I’ve decided to forego starting seeds indoors. Instead, I’m planning on buying seedlings. It wasn’t a decision I made lightly. But I just couldn’t burden myself with yet another task. I’ll still be gardening this year, just a little differently. I’ll stick to quick-growing crops for the most part, and I’ll be grabbing seedlings from my local nursery—here’s hoping they offer contactless delivery this spring!

I figured some people might be in the same boat as me. Tired. Unmotivated. There are also plenty of gardeners who don’t have room or time to start seedlings indoors. Buying seedlings is totally fine! Unfortunately, it can get expensive if you don’t plan correctly. Here are a few tips to getting the most out of your money when shopping for seedlings.

Shopping for Seedlings on a Budget

Here’s how to get the biggest bang for your buck when buying seedlings for your garden this year.

  • Set a budget. It’s really easy to go overboard when shopping for plants in the spring. The nursery is full of beautiful lush plants, and the temptation can be overwhelming. Have a budget in mind before you head out and be strict with keeping to it. You can always go back and get more plants if you need to!
  • Make a plan. Don’t go to your local nursery without a plan. Sketch out your garden and figure out what you plan to put where. Are you growing square-foot-style? Know how many varieties of each plant you need per square.
  • Stick to slow-growing plants. Unless you have the budget, stick to buying slow-growing plants like tomatoes, eggplants, and peppers. Lettuce and other greens are easy to grow from seed, so don’t bother wasting money on those.
  • Cap the number of new-to-you plants. Don’t blow your budget on exotic plants or varieties you’ve never grown before. Buy one or two new options but overall, stick to tried-and-true stuff.
  • Avoid large plants. You’ll pay a premium for very large plants, but you don’t need to start with a giant tomato plant to get a decent crop. The advantage to buying an oversized plant is that you can harvest earlier, but that privilege will cost you.
  • Prepare in advance. Prep your garden before you head out to the nursery. Have everything ready so you can bring your plants home and transplant them straight away. Amend your beds with compost, get some mulch ready, and make sure the soil is moist. If it’s still early in the spring, prepare space for your new plants inside your home.

Don’t forget that you can also find seedlings for a steal around your neighborhood. Check Facebook Marketplace listings for gardeners who are selling (or giving away!) their extra seedlings. Ask gardener friends to share their extra seedlings with you. Inquire with local gardening clubs to find out if they have any upcoming seed swaps or seedling sales.

Or alternatively if you need to raise some extra money to buy seeds, you have lots of options. Seeds cost less than $10, so you can always sell some of your old stuff on Facebook Marketplace, Offer up Craigslist. Old toys, comic books stored in bins or tools you arent using usually do pretty well.


5 Cheap Substitutes for Seedling Trays

Substitutes for Seedling Trays

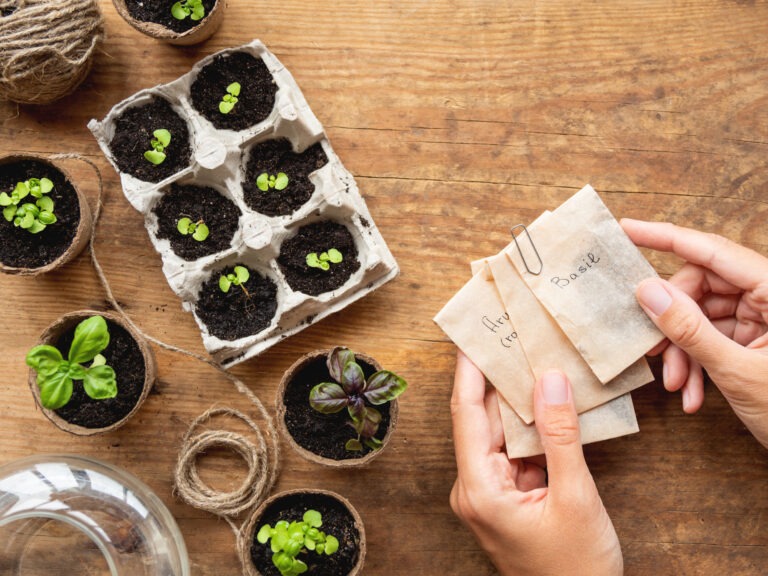
Seed trays offer a great way to start off your planting season. However, you don’t need to purchase actual trays from the gardening supply store. Instead, you can upcycle/recycle/DIY many terrific substitutes for seedling trays. Here are five good ideas:

What Are Seedling Trays?

Seed trays provide a great opportunity to begin growing multiple plants from seed at once. You germinate a bunch of them together in the trays. Then, when they’re ready to go into pots or the ground, you transplant them. This allows you to start your planting season early, beginning plant growing inside until it’s warm enough for outdoor planting.

Cheap Substitutes for Seedling Trays

You can easily purchase seedling trays. There are many different varieties, made of different materials, and in the come in a huge range of sizes. However, there’s really no need to purchase these when it’s so easy to make substitutes for seedling trays yourself.

1. Egg Cartons

Egg cartons provide one of the best substitutes for seedling trays. First of all, you probably already have some. If not, ask your neighbors for theirs. Therefore, this doesn’t cost anything.

Second, as Treehugger explains, these are biodegradable. Therefore, when you’re ready to move the seeds from the tray to the ground, all that you need to do is cut apart the egg carton and bury each section in the soil. In other words, you don’t have to take the seed out of the tray at all.

Furthermore, if you still have your egg shells, then you can include those as part of the planting process. Leave half an eggshell in each cup of the egg carton. Plant the seeds inside of those. You get great nutrients and don’t waste those eggshells.

2. DIY Newspaper Pots

Treehugger also notes that you can do the same thing with DIY newspaper pots. Make them yourself with recycled newspaper glued together with wheat paste. Plant the seeds in the pots. Then, when it’s time, plant the pots into the soil. You can put each pot next to another inside of a cardboard box while the seeds are germinating.

3. Cardboard Coffee Cups

If you regularly purchase coffee to go, then you might be able to quickly accrue a bunch of cardboard coffee cups. Ask your friends if you need extras. Fill them with soil, poke some holes in the bottom for good drainage, put them into an upcycled box, and you have a seedling tray.

Country Living points out that you can use empty K-cups in the same manner.

4. Toilet Paper Roll Tubes

Basically, any cardboard or paper that you can fashion into a pot-like vessel can work. Therefore, both Country Living and Treehugger mention the common hack of using paper towel or toilet paper tubes. You fold one end to keep the soil inside, fill it with soil and the seed, and place into an empty box. Note: there are several alternatives for folding over the one end. For example, wrap the whole thing in brown paper bags.

5. Halved Citrus Rinds

Here is the most interesting suggestion from Country Living. Take a lemon, lime, orange, or grapefruit and cut it in half. Juice it and enjoy the juice. Poke a few holes in the bottom for drainage. Then fill the center with soil and plant your seed in there. When it’s time to plant, just bury the whole thing in the soil in your garden.

Read More:


2 Different Ways To Start An Avocado Seed


2 Different Ways To Start An Avocado Seed

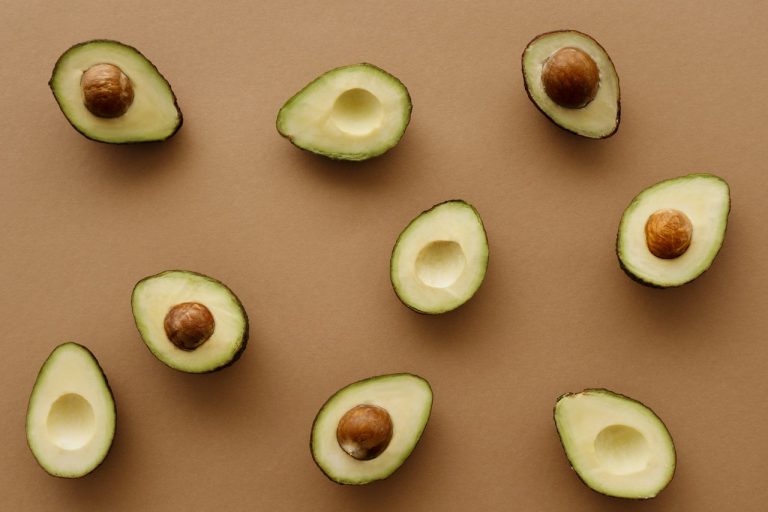
People love to put avocados on everything. I’m as much an avocado fanatic as the next person, but they don’t come cheap. Here’s how to start an avocado seed at home.

Growing avocados at home

I’ll be upfront with you. Growing an avocado tree takes time and patience. And it’s not a task suited to beginners who kill most of their indoor plants.  Your homegrown tree is unlikely to bear fruit, even if you’re a meticulous pro. And it can take over a decade for some trees to produce fruit. Yikes!

But even if you don’t manage to cultivate any edible fruit, starting an avocado seed is a fun project to do with kids. It’s also a challenge all on its own.

Steps involved in starting an avocado seed

Before you attempt to sprout an avocado, you’ll need an avocado pit. So get ready to make some guacamole and save that pit for later.

Make sure you keep avocado out of reach of any pets in your household. It can be toxic to some animals.

You can start an avocado seed one of two ways: In a glass of water or in soil.

The glass water method is slower but it’s fun to watch the seed sprout.

In soil, everything happens out of view.

If you’re starting an avocado from seed as an educational activity with kids, use the glass water method because it’s more visual.

To start your avocado seed in water:

  • Pop some toothpicks in the avocado
  • Set the tooth-picked seed atop a full glass of water, half of the seed should be submerged in water
  • Put the water glass set up on a sunny windowsill or under a grow light
  • Make sure to add water as needed to keep half the seed submerged

It can take several weeks for the seed to sprout. Small sprouts will appear and, eventually, the main stem will emerge. At this point, go ahead and plant the avocado seed in potting soil.

To start your avocado seed in soil:

  • Pot the seed up in potting soil destined for houseplants
  • Make sure the pointy end juts out slightly from the soil
  • Keep the potting mix moist but be careful not to overwater
  • Fertilize regularly

Need a visual? Here’s a helpful video on how to grow avocado from seed:


7 Plants You Can Direct Seed


7 Plants You Can Direct Seed

Recently, I’ve mentioned that this year I just don’t have the bandwidth to garden like I usually do. But that doesn’t mean I’m completely abandoning my favorite hobby. Although I didn’t start seedlings indoors, I still have a vast collection of seeds at my disposal, and I’ve already started sketching a plan for what I want to plant. There are plenty of things I can direct seed and grow without much intervention. A bit of thinning here and there is all that’s required.

Some plants are great for direct seeding because they grow quickly. Others do best direct-seeded because they don’t transplant well. When I started gardening, I direct seeded everything. I didn’t have the space to commit to starting seeds indoors, and I didn’t really understand that some plants needed long growing seasons to reach maturity. Through the years, though, I’ve learned about the best plants to direct seed—with a lot of trial and error.

I’ve even had success direct seeding some dwarf tomato varieties! With gardening, the sky’s the limit. But to get you started off on the right foot this year, here are 10 plants you can direct seed just before or after your last frost date.

Plants You Can Direct Seed

Here are some of the easiest plants to direct seed in the garden.

  • Radishes. These pungent, crispy root vegetables are one of the quickest growing edibles in the garden. Like most root veggies, they don’t transplant well. If you’re going the square foot garden route, plant 16 or 9 per square.
  • Carrots. I just sowed my carrot seeds in the garden. I normally plant 16 per square, but this year I decided to broadcast sow the seeds because I’m planting so many, and I didn’t feel like carefully pinching seeds into hundreds of holes. Carrots grow slowly, but they’re really easy to grow given the right soil conditions. Once they sprout, all you need to do is thin out the seedlings. After that, regular watering is really all that’s required.
  • Kale. Another slow-growing one. BUT kale does exceptionally well when direct-seeded. You can sow kale in the spring before your last frost date. I like the interplant kale with herbs and flowers to entice pollinators and beneficial bugs to settle in. Most years, cabbage loopers decimate my kale crops not under protection. But last year, I had a lot of success pairing my brassicas with flowers and flowering herbs.
  • Spinach. This crop is another easy one to grow. You’ll have the best results sowing early in the spring as soon as the soil is workable. Spinach bolts when the weather gets warm, so early plantings can mitigate premature bolting. Grow spinach in partial shade. The hot afternoon sun, even on a cool day, can trigger bolting.
  • Asian greens. There are many delicious Asian greens out there, but some of my favorites include bok choy, Chinese broccoli, and frilly mustards. Most of these grow well from seed. You can also harvest them early as baby greens.
  • Summer squash. I’m not planting squash this year because I have a squash bug problem. But if you’re lucky enough not to have to deal with these irritating insects, summer squash is an excellent plant to grow from seed. It grows exceptionally fast, and once it starts to produce, you’ll have plenty of food to eat. My favorite variety is patty pan. Sow summer squash right after the last frost date.
  • Beans. Beans grow so quickly I never bother starting them from seed. They also don’t love to be moved around. I prefer bush varieties because they don’t require supports, but if you space them too closely, you can end up with a tangled mess. Sow bean seeds right after the last frost date.

Read More

Yes, you can garden for free

Ten ways to get free plants for your garden

How to get free plants


10 Top Reasons Why Seeds Don’t Germinate


10 Top Reasons Why Seeds Don't Germinate

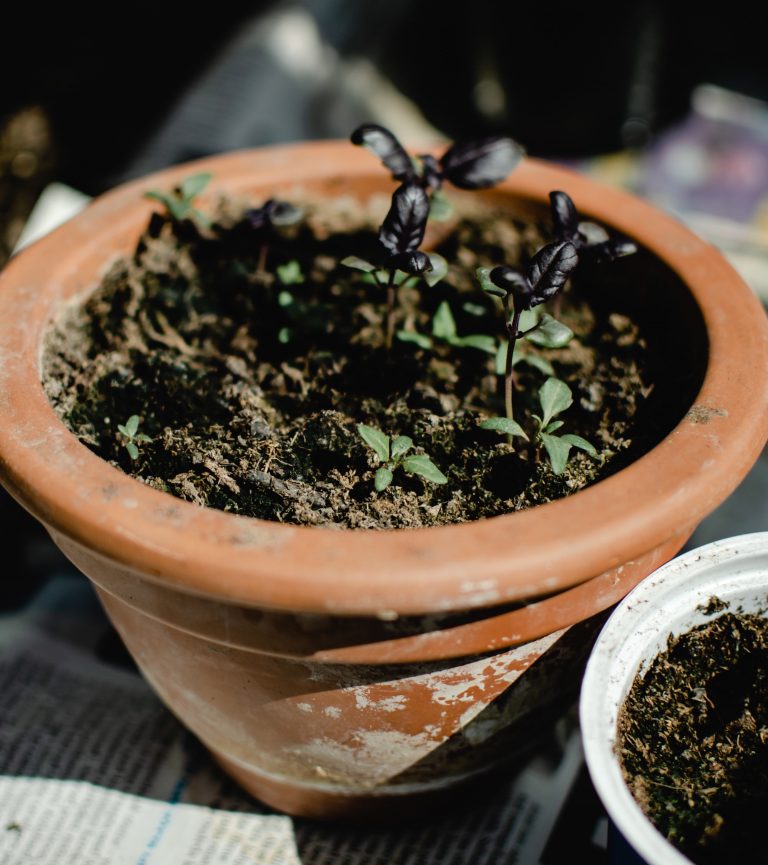
There are a lot of reasons why seeds don’t germinate. Knowing what can go wrong is the first step in solving the problem. If you’re struggling to start seeds this spring, here are a few things to look out for.

Why Aren’t Seeds Germinating?

Here are a few common reasons why seeds don’t germinate.

    • It’s too hot. It’s a common misconception that seeds require heat to germinate. Not all seeds like it hot. Some germinate best when the soil is cool. The ideal temperature for lettuce seeds, for instance, is between 40 to 85 degrees Fahrenheit. Closer to 80 degrees means seeds are less likely to emerge.
    • It’s too cold. Similarly, some seeds require plenty of warmth to germinate. Things like tomatoes, eggplant, and peppers do best if you use a heat mat. If you don’t provide extra warmth, your seeds may take longer to germinate or not germinate at all.
    • The soil is too wet. Seeds and seedlings need air to survive. If you drown your seeds in water, they may not be able to access oxygen, and they’ll eventually rot. When starting seeds, you want your soil to be moist but not overly so.
    • Damping-off. This is a fungal disease that commonly affects seeds and seedlings. Avoid it by using sterilized seed starting mix, disinfecting tools, and using quality seed. If you notice your seedlings continually succumbing to damping-off, it might be wise to throw out that seed packet.
    • Seeds are getting eaten. In some areas, you may already be direct seeding outside. It’s a great way to get a jump start on the season. Unfortunately, some animals, like birds and small mammals, don’t really care that you’re excited about the gardening season. If you plant seeds and wonder why they aren’t germinating, it might be because critters are eating them when you’re not around. You can use netting or other protective covers, like cloches, to keep your seeds away from hungry mouths.
    • You’ve got duds. Sometimes, seeds, even from quality retailers, just aren’t going to germinate. Most reputable seed companies have a germination percentage figure on their seed packets to let you know how many seeds are expected to germinate. The lower the percentage, the more likely you are to have a few non-starters. If you continually find yourself with duds on your hands, it’s time to find a new seed supplier.
    • Your seeds are too old. Seeds don’t last forever. They’ll last a shorter time if they’re stored haphazardly. Some types of seeds also last longer than others. If your seeds aren’t sprouting, check the date on the packet. I often buy packets of seed that contain way more seed than I know I’ll be able to use. I like to share seeds with other gardening pals to make sure they don’t go to waste.
    • You’re not being patient enough. Some seeds take a while to germinate. While lettuce seedlings usually pop up within less than a week, many herbs take a lot longer to sprout. Others can take months. Seeds will also take longer to germinate if the conditions aren’t quite right.
    • Your seeds need an extra helping hand. Some seed types require periods of freezing weather or soaking in water to sprout. Always carefully read the back of a seed packet to check if this needs to be done. Some flower seeds have hard coatings, so you need to go through these steps to weaken the coating.
    • You’ve planted them too deep. This is more of an issue when direct sowing. Only plant as deep as the length of the seed. So for small seeds like carrots, you want to make sure you’re sowing them very shallowly.