Collecting seeds from your own garden feels like bottling summer sunshine, packaging it up, and setting it aside for a new season of growth. But when fall begins to settle in and leaves start crunching under your boots, that magic turns into urgency. If you don’t collect and store seeds correctly before winter arrives, you could lose future crops and the satisfaction of growing something from what you saved. So let’s make sure your seeds stay dry, healthy, viable, and ready to burst into life when spring comes back around.
1. Choose The Right Plants First
Not every plant in your garden is a good seed candidate. The best seeds come from mature, healthy plants that have had time to fully develop and produce strong, high-quality genetic material. Avoid plants that were weak, diseased, or barely survived the season, because their seeds are likely to carry the same issues. Pick the standouts: the tomatoes that thrived even during drought, the peppers that grew full and glossy, the basil that wouldn’t stop producing leaves. Saving seeds from your best performers means stronger plants next year.
2. Let Seeds Fully Mature On The Plant
Seeds need time to ripen fully if you want them to germinate well later. Harvesting too early means the seeds may be underdeveloped, soft, or lacking the stored energy they need to sprout. For many plants, especially flowers, squash, beans, and peppers, letting seeds dry or mature right on the stem is ideal. The plant naturally tells you when it’s time: pods brown, flower heads dry, or fruits soften beyond what you’d normally want to eat. Waiting just a bit longer often makes all the difference between weak seedlings and strong, vibrant plants.
3. Collect Seeds During Dry Weather
Moisture is the enemy when it comes to saving seeds. If you collect seeds during damp or rainy weather, they may hold trapped moisture that encourages mold, which can ruin them completely. Choose a dry, sunny day when the plant tissues are crisp and seeds break free easily. Spread what you collect onto a flat tray or plate afterward to make sure they finish drying out fully. A little patience now prevents a soggy, useless clump of seeds later.
4. Clean Seeds Carefully Before Storing
Seeds don’t like to share storage space with leftover plant debris, pulp, or chaff. Bits of organic matter can hold moisture and attract mold or pests. Cleaning seeds doesn’t need to be fancy; sometimes rubbing them gently between your fingers or using a small sieve does the job. For wet seeds, like those from tomatoes or cucumbers, rinse and let them dry completely before moving forward. Clean seeds store better, stay viable longer, and look a whole lot more satisfying in their labeled jars or envelopes.
5. Dry Seeds Thoroughly Before Packing
If seeds go into storage even slightly damp, the risk of rot or mold skyrockets. Spread them out on parchment or a breathable cloth in a warm, shaded place—not in direct sunlight, which can damage seed viability. Give them several days to fully dry until they feel papery or firm to the touch. You’ll know they’re ready when they move loosely, rattle a bit, or snap rather than bend. Drying is the single most important step to ensure your seeds survive the winter.
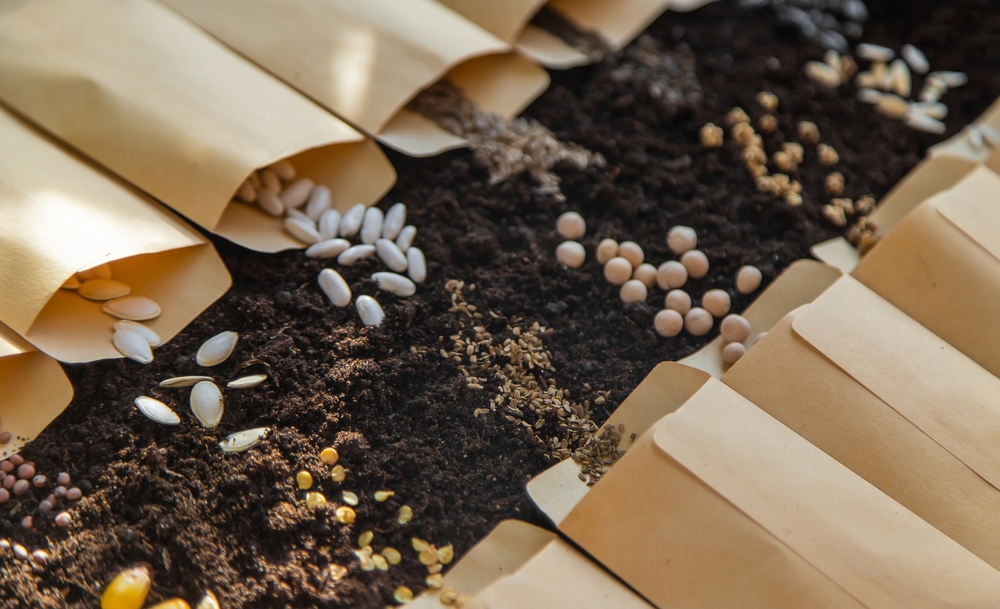
6. Use Breathable Containers For Storage
Seeds like airflow during storage, especially if you live somewhere humid. Small paper envelopes or folded coffee filters work wonderfully because they allow air exchange but protect seeds from dust and light. Glass jars can also work, but only if you’re certain your seeds are completely dry. Otherwise, moisture can get trapped inside and spell disaster. Breathable packaging may not look fancy, but it keeps seeds safe and healthy through the cold months.
7. Label Everything Clearly
There is nothing quite like the heartbreak of mystery seeds in spring. You may think you’ll remember which seeds came from which plant, but memory becomes foggy quickly, especially after months of storage. Label your seeds with the plant type, variety, and month/year collected. You might also jot down notes like “grew well in shade” or “best flavor yet” if you want extra guidance next season. The more information future-you has, the more grateful you’ll be.
8. Store Seeds In A Cool, Dark Location
Once your seeds are dry and labeled, where you keep them plays a huge role in how long they remain viable. Light, warmth, and humidity can reduce germination rates dramatically over time. A basement shelf, closet drawer, or sealed box in the pantry makes a great resting place. Just make sure the spot stays consistently cool and not prone to temperature swings. A calm, dark corner becomes a seed-saving sanctuary.
9. Avoid Plastic Bags Unless Seeds Are Bone Dry
While plastic seems convenient, it’s easy for condensation to form inside even when you think seeds were dry enough. If moisture accumulates, mold takes over quickly and can ruin an entire season’s worth of saving. If you must use plastic, toss in a tiny silica packet to absorb stray humidity. But generally, paper is safer and more forgiving. Think breathable, not airtight, unless you’re an expert dryer.
10. Check Stored Seeds Occasionally During Winter
Seeds don’t require constant babysitting, but a quick peek every month or two is smart. Look for signs of moisture, mold, or pests that might have snuck in. If you catch something early, you can salvage most of your seeds before damage spreads. If everything looks crisp and clean, you’ll feel a thrill of satisfaction knowing your future garden is quietly waiting. A tiny bit of vigilance keeps your seed stash strong.
11. Share Seeds With Friends And Neighbors
One of the great joys of seed saving is sharing the abundance. Trading seeds with friends, neighbors, or local garden groups helps preserve plant diversity and spreads knowledge throughout your community. You might receive new varieties in return that you’d never find in a store. Garden stories always come along with the seeds, adding meaning to every sprout. The cycle of growing becomes richer when shared.
Your Future Garden Starts Now
Saving seeds before winter isn’t just a task—it’s an investment in next year’s garden, your skills, and your connection to the growing cycle. With a little care, patience, and awareness, your seeds can last beautifully until the warm soil of spring calls them back to life. There’s nothing more rewarding than watching something grow that you saved with your hands.
Have you tried saving seeds before? Share your stories, experiments, or questions in the comments section because other gardeners would love to hear from you.
You May Also Like…
10 Tools Worth Sharpening Before Winter
How to Spot Overwintering Insects in Mulch
8 Seedlings That Transplant Better in Cool Weather
11 Plants That Self-Seed Perfectly in Fall
7 Flowers That Self-Seed and Return Next Spring
Brandon Marcus is a staff writer for FrugalGardening.com at District Media, Inc., where he delivers practical gardening advice with a relatable, no-nonsense style. An avid amateur gardener, he holds a BA degree and with over ten years of professional writing experience, he is also an award-winning published author whose first book, Questions For Deep Thinkers, was released by Adams Media. His work has appeared in major publications including Fandom.com, CHUD.com, TheColdWire.com, and Fansided.com.
Leave a Reply