Seed catalogs now land with the excitement of a holiday gift, and gardeners no longer toss them onto the coffee table for later. Many open them immediately, pen in hand, circling varieties with the intensity of a sports draft. Garden centers notice the shift, seed companies feel the pressure, and backyard growers feel oddly triumphant…
spring garden
9 Perennials You Should Leave Standing Until Spring and Why
Winter gardens can feel like a quiet, gray world, but the truth is, a little patience can transform them into something spectacular. Leaving certain perennials standing through the cold months isn’t just about laziness—it’s about creating natural beauty, supporting wildlife, and giving your garden structure when everything else has gone dormant. These hardy survivors provide…
8 Signs Your Soil Needs More Drainage Before Spring Rains

Spring rain should feel refreshing, not like a stress test for your yard. Yet every year, countless gardens turn into soggy obstacle courses just as plants are gearing up to grow. Too much water hanging around underground can quietly sabotage roots, invite disease, and leave your soil gasping for air. Drainage issues often hide in…
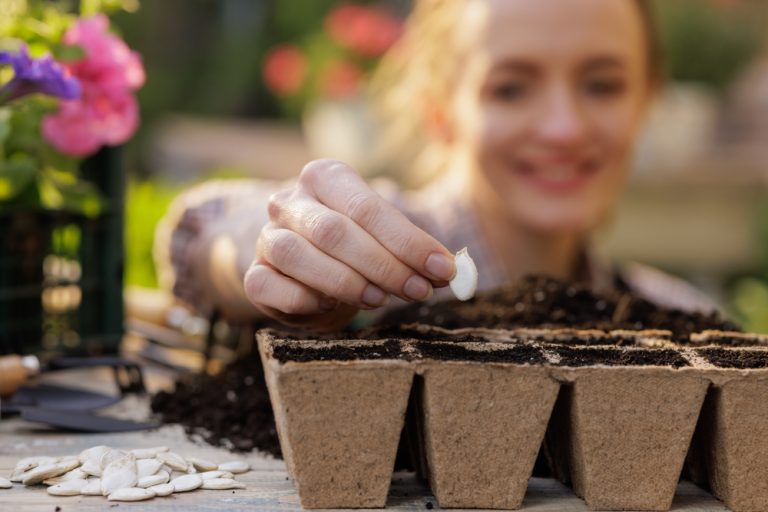
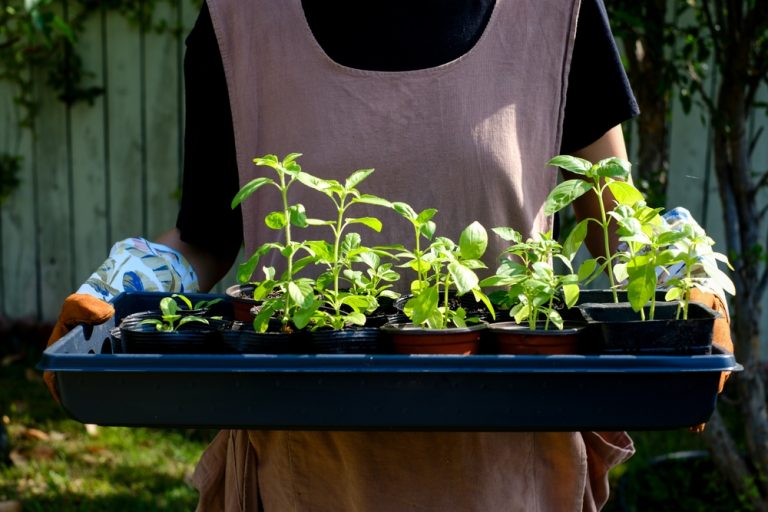
12 Seeds You Should Start Early If You Want Big Spring Harvests

Spring harvests don’t happen by accident. They’re planned, plotted, and quietly started weeks before the soil outside is ready. While winter is still dragging its heels, gardeners who know the secret are already potting up trays, watching green shoots stretch toward the light. Starting certain seeds early gives plants a head start that translates into…
9 Winter Pruning Cuts That Invite Disease in Spring
Winter pruning can feel like a secret art—your hands in the chill air, shears in motion, imagining the perfect shape of your trees and shrubs. But here’s the catch: one wrong snip can turn your cozy garden into a hotbed for disease when the warmth returns. Plants may look dormant, but that doesn’t mean they’re…
7 Mistakes That Are Killing Your Raised Beds Before Spring Even Starts

Spring is whispering around the corner, and your raised beds should be bursting with promise. Yet, despite all your planning and enthusiasm, some silent killers might be lurking, threatening to turn your garden dreams into a patch of regret. From soil disasters to sneaky moisture traps, there are errors that can decimate your beds before…
5 Plants That Could Be Illegal to Grow in Your Backyard This Spring—Check Your State List
Spring gardening season brings a rush of excitement, glossy seed catalogs, and dreams of lush greenery taking over every empty patch of soil. But hidden among the innocent-looking plants at garden centers and online listings are botanical rebels that lawmakers would rather you never plant at all. Some of these greenery glamour stars grow too…
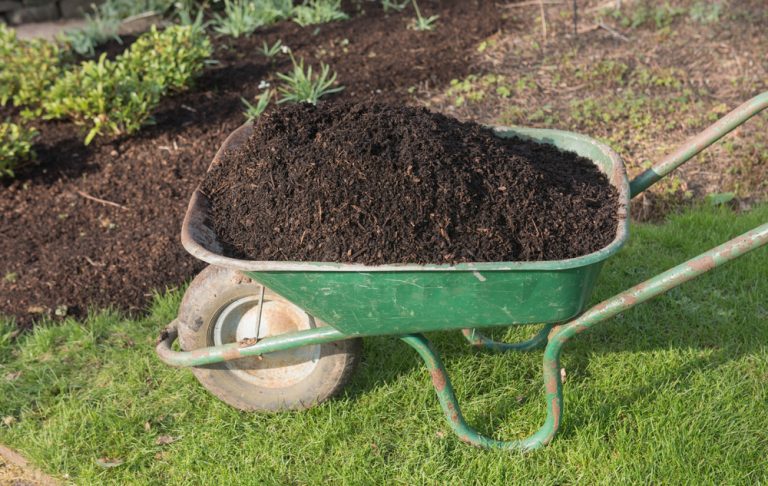
10 Budget-Friendly Garden Projects to Start Before Spring
Spring is racing toward us, and your garden doesn’t have to wait for sunshine to start thriving. This is the perfect time to roll up your sleeves, get a little muddy, and plan projects that will transform your outdoor space without draining your wallet. From clever DIY hacks to simple touches that bring huge rewards,…
Why Mulching in December Can Save Your Spring Garden
Winter is rolling in, frost is creeping over your lawn, and it might feel like the garden is officially “asleep” until spring. But don’t put away your gardening gloves just yet—December is secretly one of the best months to set your spring garden up for success. Mulching now might sound like an odd chore in…
9 Budget-Friendly Winter Garden Projects You Can Finish Before Spring
Winter can feel like a lull in the garden, a time when frost and bare branches make you wonder if your outdoor space will ever bloom again. But the colder months are secretly a golden opportunity for gardeners who love to plan, create, and prep. With a few simple projects, you can turn your wintertime…