Baby Boomers Rejoice! Discover How to Create a Lush Garden with Just Your Kitchen Scraps!
In an era where sustainability meets creativity, baby boomers are leading the charge in crafting lush, vibrant gardens from what many might consider waste. Kitchen scraps, often overlooked, are proving to be a goldmine for gardening enthusiasts. This guide will walk you through transforming your everyday kitchen scraps into a flourishing garden, making it not just a hobby but a sustainable practice that aligns with current environmental trends.
The Rise of Eco-Friendly Gardening
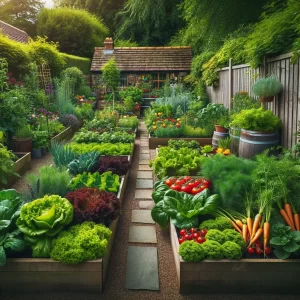
Eco-friendly gardening has surged in popularity, especially among baby boomers who are looking to reduce waste and reconnect with nature. This method is not just about growing plants; it’s about fostering a sustainable ecosystem right in your backyard. By using kitchen scraps, you’re not only minimizing waste but also nourishing your garden with organic matter, creating a cycle of sustainability that benefits both the environment and your green space.
Starting with Scraps: The Basics
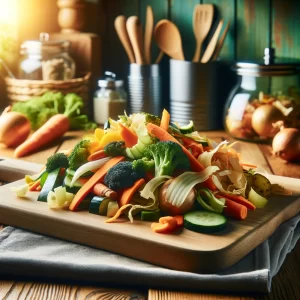
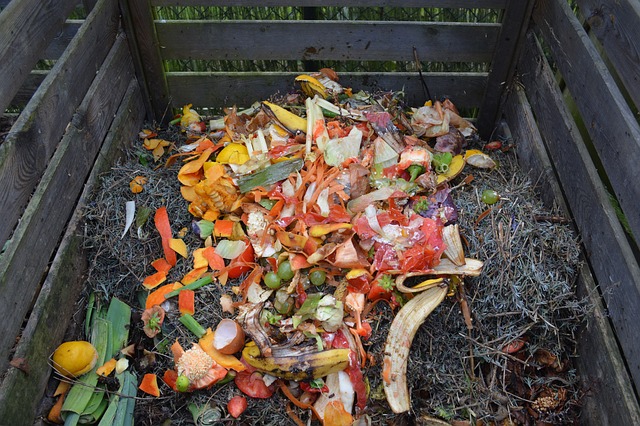
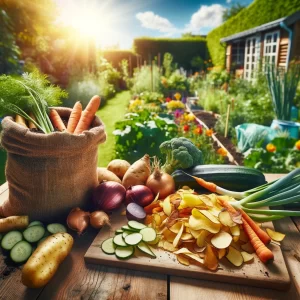
Beginning your garden with kitchen scraps is simpler than it might seem. Start by collecting scraps like vegetable peels, fruit skins, eggshells, and coffee grounds. These materials are rich in nutrients and can be easily composted or used directly in your garden soil, acting as a natural fertilizer that promotes plant growth without the need for chemical additives.
Composting: Turning Waste into Gold
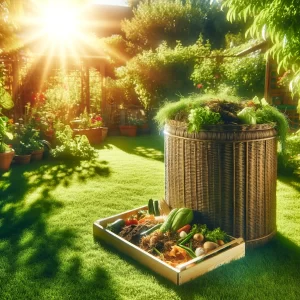
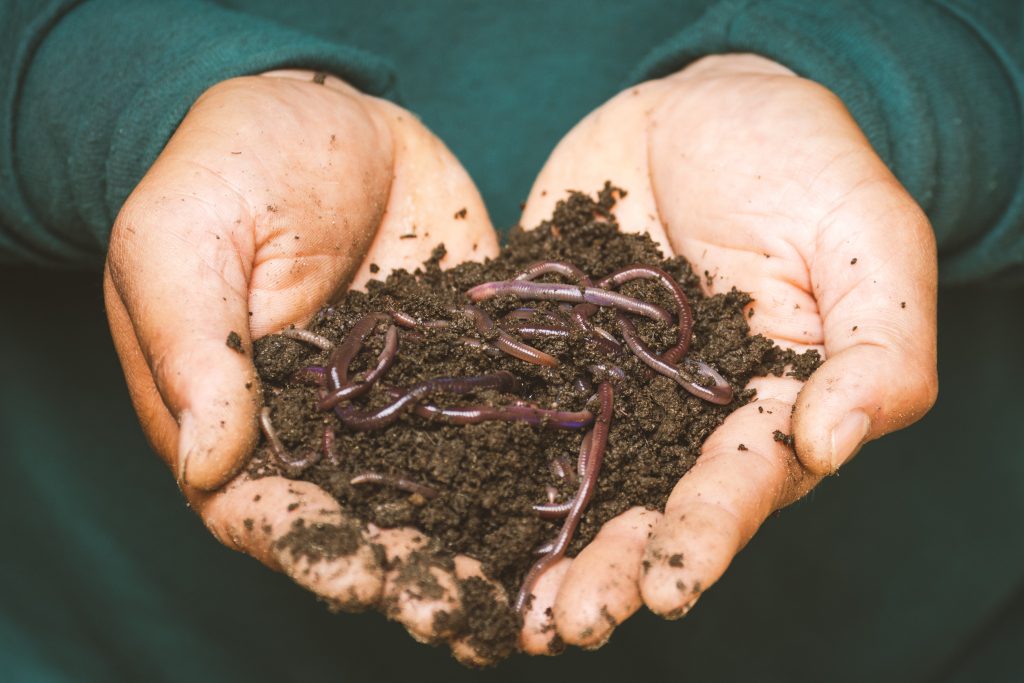
Composting is a key element in eco-friendly gardening. It involves the breakdown of organic kitchen waste into a nutrient-rich soil amendment. Setting up a compost bin is straightforward and can be done in even the smallest of spaces. This process not only enriches the soil but also reduces methane emissions from landfills, making it a win-win for both your garden and the planet.
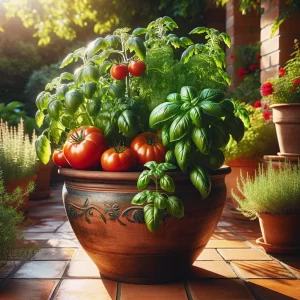
Regrowing Vegetables from Scraps
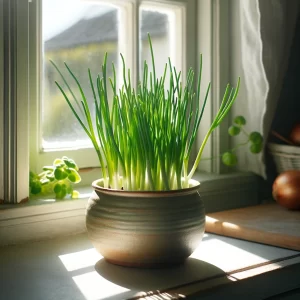
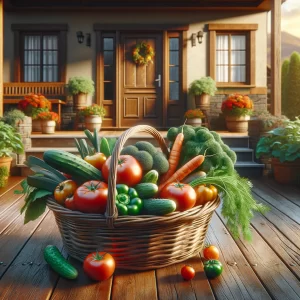
Some kitchen scraps can be regrown directly, offering a continuous supply of fresh produce. Items like green onion ends, lettuce stumps, and celery bases can be placed in water or soil, where they will sprout new growth. This method not only extends the life of your groceries but also adds an element of fun and experimentation to your gardening efforts.
The Magic of Eggshells and Coffee Grounds
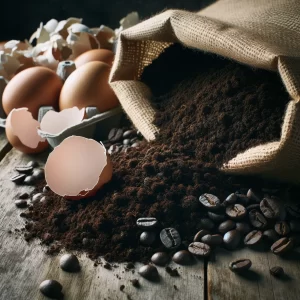
Eggshells and coffee grounds are particularly beneficial for gardens. Crushed eggshells add calcium to the soil, promoting plant health, while coffee grounds serve as a fantastic natural fertilizer due to their nitrogen content. Both can be easily incorporated into your garden soil or compost bin, enhancing soil quality and supporting robust plant growth.
Planting Strategies for Maximum Yield
To make the most of your kitchen scrap garden, strategic planting is key. Consider companion planting, where specific plants are grown together to enhance growth, deter pests, and increase yield. Also, rotating crops and practicing intercropping can prevent soil depletion and reduce the risk of plant diseases, ensuring a bountiful harvest year after year.
Water Wise: Sustainable Irrigation Practices
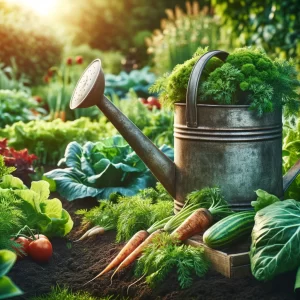
Efficient water use is crucial in sustainable gardening. Collecting rainwater, using drip irrigation systems, and watering plants early in the morning or late in the evening can significantly reduce water consumption. These practices not only conserve a vital resource but also ensure that your plants receive the hydration they need without excess waste.
Pest Control: Natural Solutions
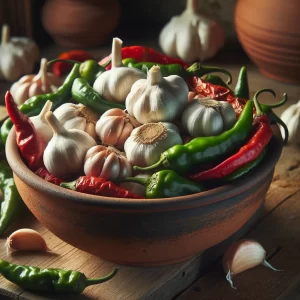
Pests can be a challenge in any garden, but there are natural ways to manage them without resorting to harsh chemicals. Companion planting, as mentioned earlier, can naturally deter pests. Additionally, homemade remedies like neem oil sprays or garlic and chili pepper infusions can protect your plants from pests while keeping your garden ecosystem safe and healthy.
Community and Sharing: Beyond the Garden
The beauty of gardening with kitchen scraps extends beyond your own backyard. Sharing surplus produce with neighbors, exchanging gardening tips within your community, and even starting community composting programs can foster a sense of connection and collective responsibility towards the environment. This communal aspect not only enriches social bonds but also amplifies the impact of your sustainable gardening efforts.
Gardening with Kitchen Scraps: A Green Revolution in Your Backyard

Creating a lush garden from kitchen scraps is more than just a gardening trend; it’s a movement toward sustainability and environmental responsibility. For baby boomers and gardening enthusiasts alike, this practice offers a fulfilling way to engage with nature, reduce waste, and contribute to a healthier planet. By embracing these eco-friendly gardening techniques, you can transform your kitchen scraps into a thriving garden, proving that with a bit of creativity and effort, waste can indeed turn into wonder.
Read More