Seed Starting Series: Air Circulation
Frugal gardeners can’t afford to leave a lot to chance during the seed starting process. Failed starts means wasted time, effort, and money. While failure happens more often than I’d like sometimes, I always find a way to learn from my mistakes. Otherwise, what’s the point? Sometimes, it’s out of our hands. But, if my seedlings don’t thrive and I have the power to change the situation for next time, I’ll do my best to make necessary changes.
This past weekend, I had to toss out nearly a full tray of tomato seedlings because they were not growing well at all. I can’t be one-hundred percent certain but I think the issue may have been the seeds themselves since the rest of the tray was filled with tomatillos and those were looking lovely.
I’ve also noticed a lot more surface mold than usual on the seed starting mix and wondered if that might be the issue. Again, I don’t think so, since the tomatillos are thriving and my eggplants are looking healthy, too. Still, it made me realize that I needed to rectify the mold growth issue.
Signs of mold on your soil isn’t always a big deal. Often, excess mold growth is a sign of overwatering, but the fungus or mold is unlikely to cause any harm. In my case, I think the issue is poor air circulation and being too slow to remove the clear plastic domes on my trays. Always remove the domes at the first sign of germination. This requires regular inspections of your trays, though, which is tough if you’re having a busy week. I suggest making it a habit to check on your trays at least once a day.
I’m a somewhat laissez-faire gardener, but I wanted to find a way to encourage better air circulation in my growing space and prevent excess humidity, without needing to shell out lots of money. So yesterday, I did two things:
Turned up the heat: The basement is colder than other parts of my home. That’s true for most basement spaces. A basement is often a popular place for seed starting since it’s out of the way and not typically as highly trafficked as other parts of a home. The problem is that basements are often cooler and more humid than upstairs spaces. Thankfully, we have a baseboard heater close to the grow shelves. It’s not usually on, but I decided to crank up the heat. Humidity isn’t inherently bad for your seedlings. In fact, most plants enjoy humidity, but excess levels may lead to mold and fungal growth.
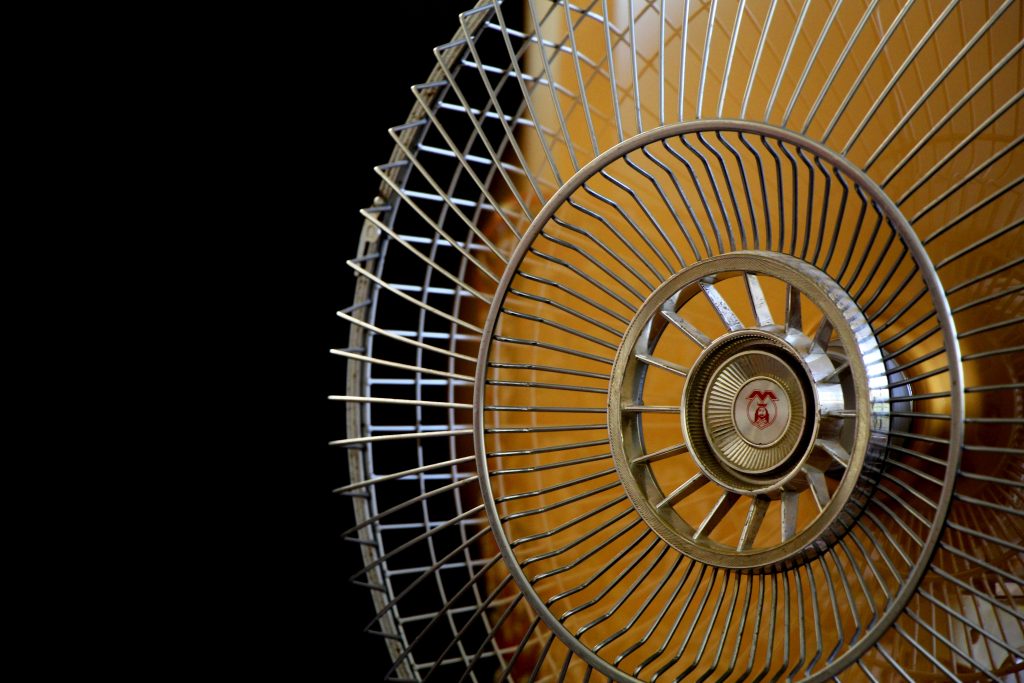
Plugged in a cheap oscillating fan: I’ve actually been meaning to do this for a while now, but the fan was hidden away in our crawl space, and I couldn’t be bothered to go hunting for it. I knew I would be in for a situation where something would definitely fall on my head. So I asked my husband to do it. He managed to get it out in a snap, and it’s been blowing air around my grow space for a few days now.
Why is a fan useful?
There are a few reasons to consider adding a fan to your indoor grow space. Even if you’re just starting some seedlings along a windowsill. Oscillating fans are also inexpensive, so frugal gardeners don’t have to worry about making a huge dent in their budget. Once the seed starting season is over, you can use the fan to circulate air elsewhere in your house and to keep you cool on very hot days. For your seedlings, adding a fan can:
- Reduce fungal growth
- Strengthen your seedlings
- Keeps leaves dry
- Helps prevent disease
Tip: Set your fan to the lowest setting and not too close to seedlings. Too strong an air current may stress your seedlings. Give them a break at night and save power, by shutting off the fan before you head to bed.